Mod Guide: Game Boy Pocket Backlit LCD
This summer, as part of our activities with the Residual Media Depot, Alex Custodio and I are modding several videogame consoles while closely documenting our work. The goal of this project is to create a series of succinct, approachable modding guides that detail the tools and techniques needed for hardware modding.
Game Boy Pocket Backlit LCD Installation
Our first modding project involved implementing a MGB TFT Backlit Kit to a Game Boy Color (MGB). While this mod would usually be considered an enhancement project, our MGB had a broken screen, so one of the main goals was simply to get it working again (albeit with a better screen).
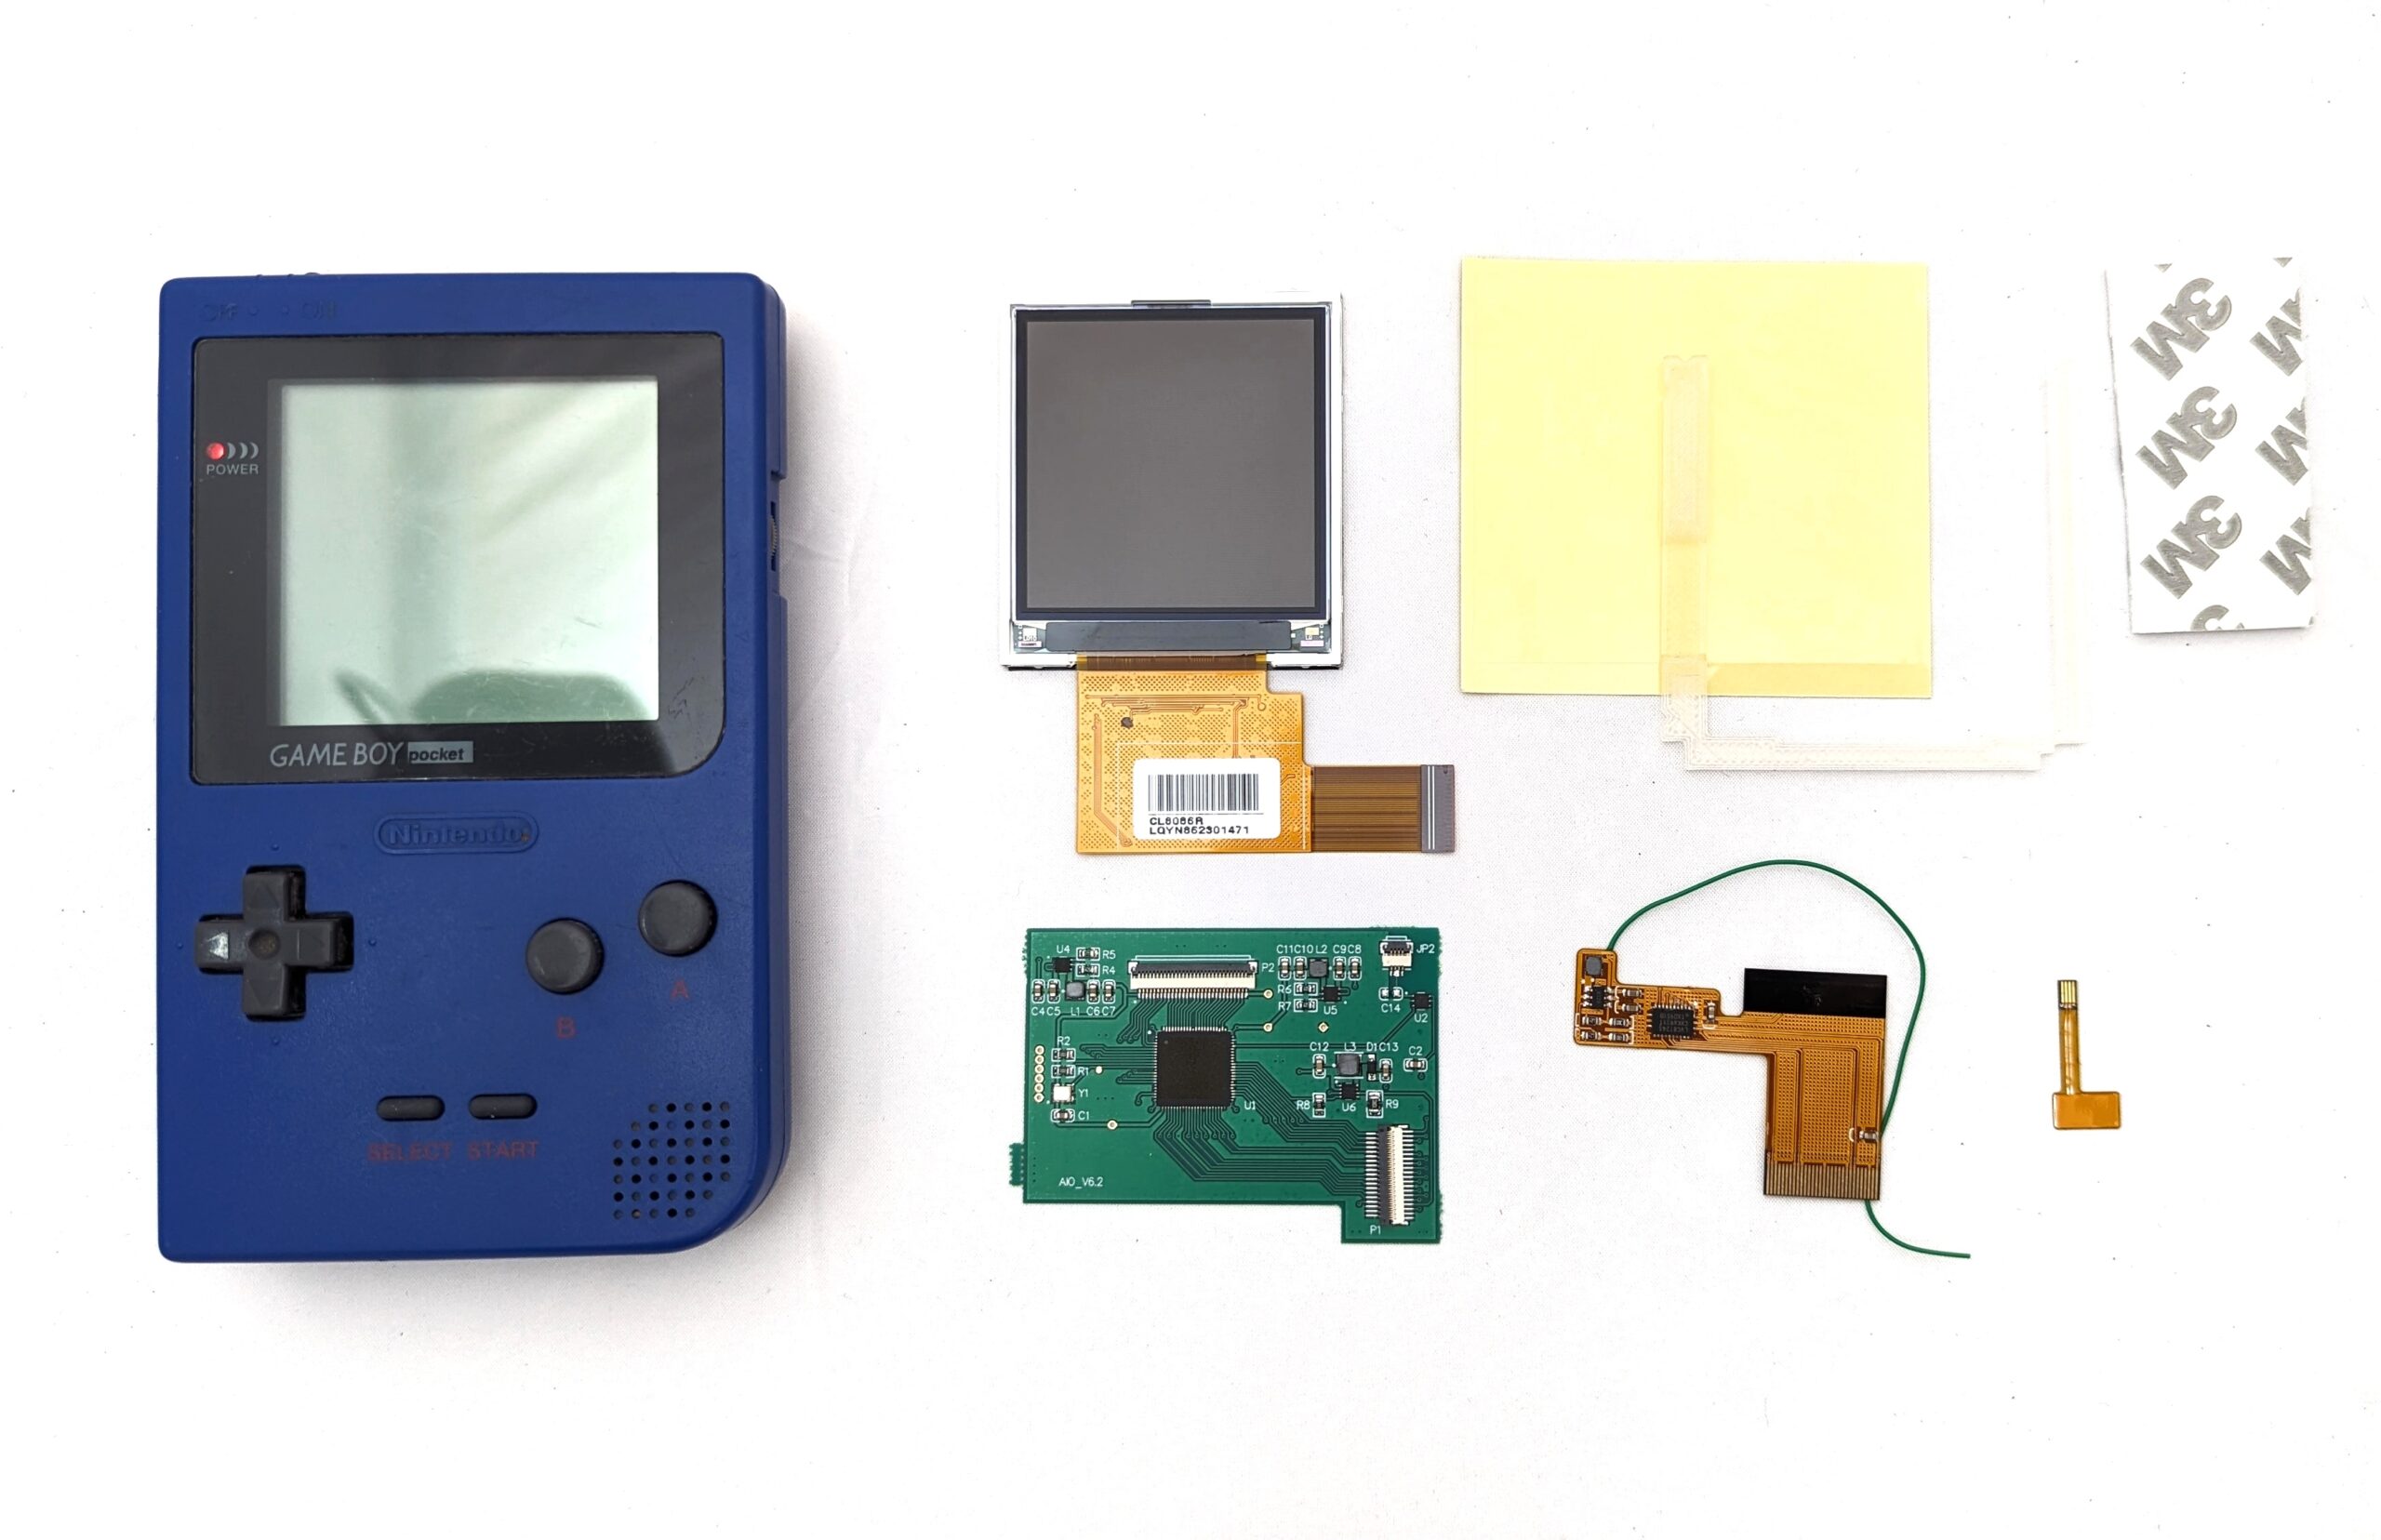
We used a kit sourced from Retro Modding, which included the backlit liquid crystal display (LCD), the printed circuit board (PCB) and attending ribbon cables, a piece of 3M foam tape, and a 3D printed bracket. According to the product description, the kit is supposed to include a three-piece laser cut bracket in place of that last item; the 3D printed bracket we received didn’t fit the MGB shell, but we were able to improvise with the pieces we had on hand.
Materials
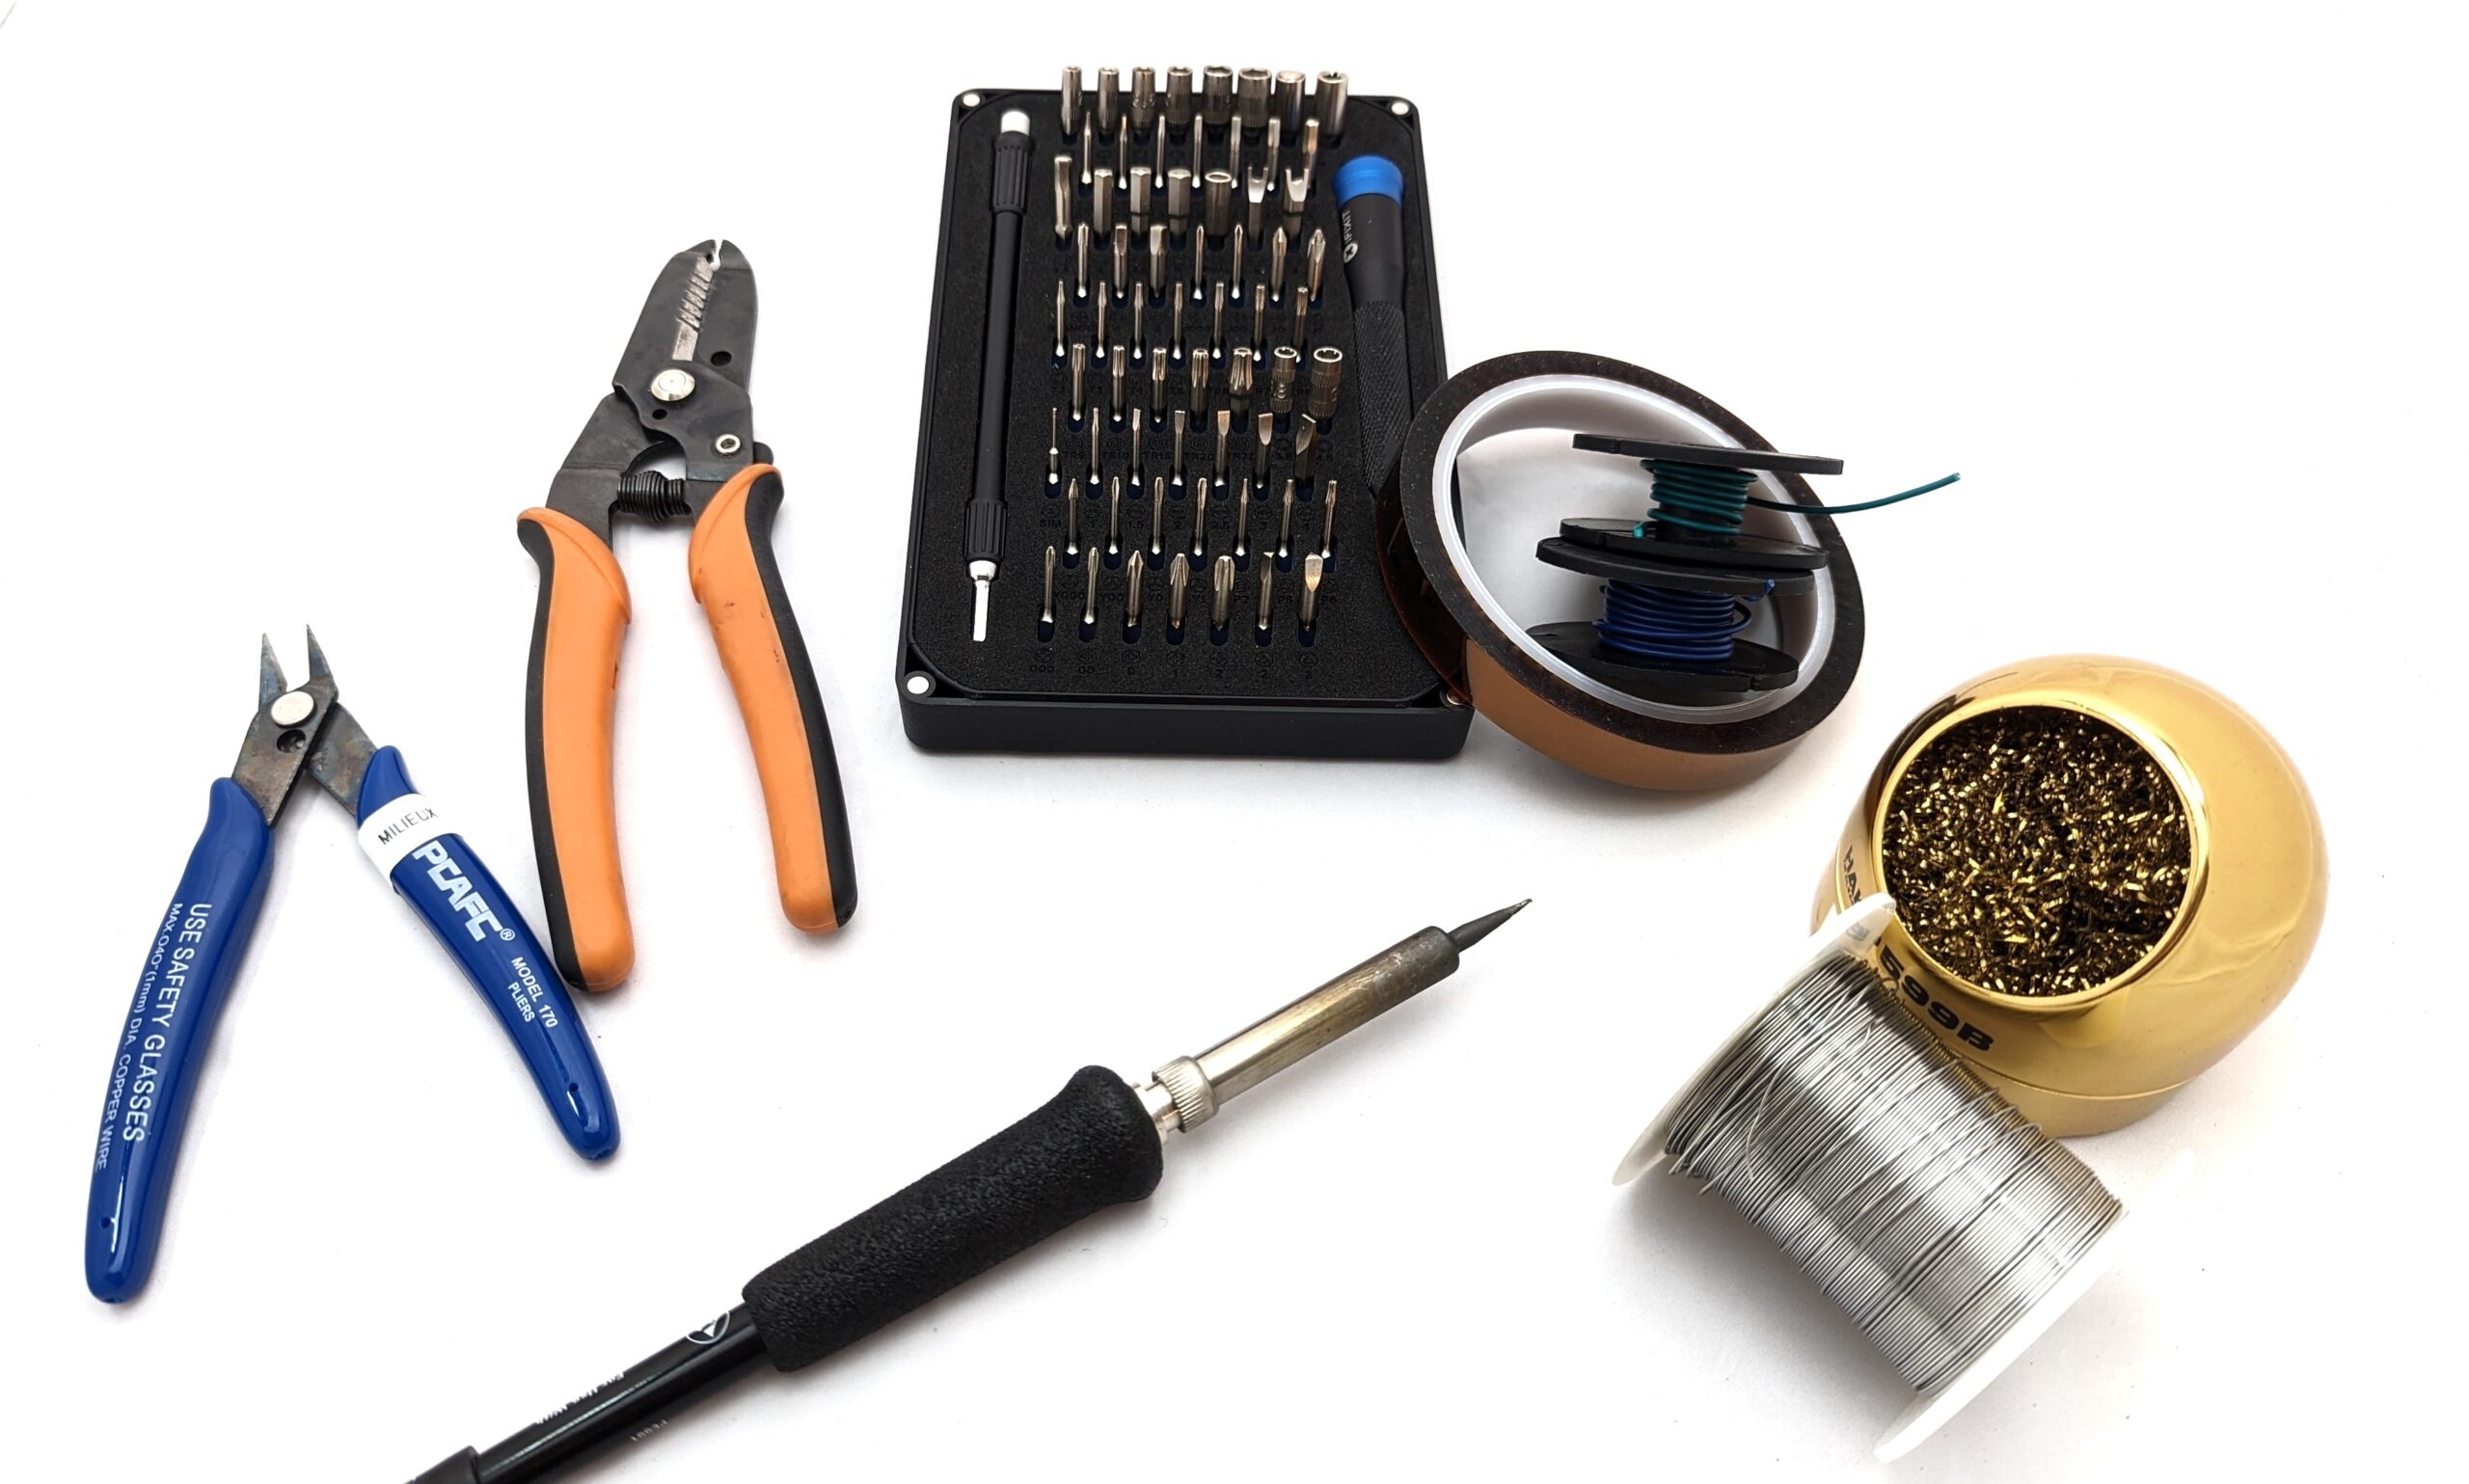
- Game Boy Pocket
- MGB TFT Backlit Kit
- Double-sided tape
- Tri-Wing and Philips Head screwdrivers
- Soldering iron
- Solder
- Wire strippers
- Kapton tape
- Cotton swabsQ-tips and isopropyl alcohol
- Compressed air
Step 1: Disassemble the Game Boy Pocket
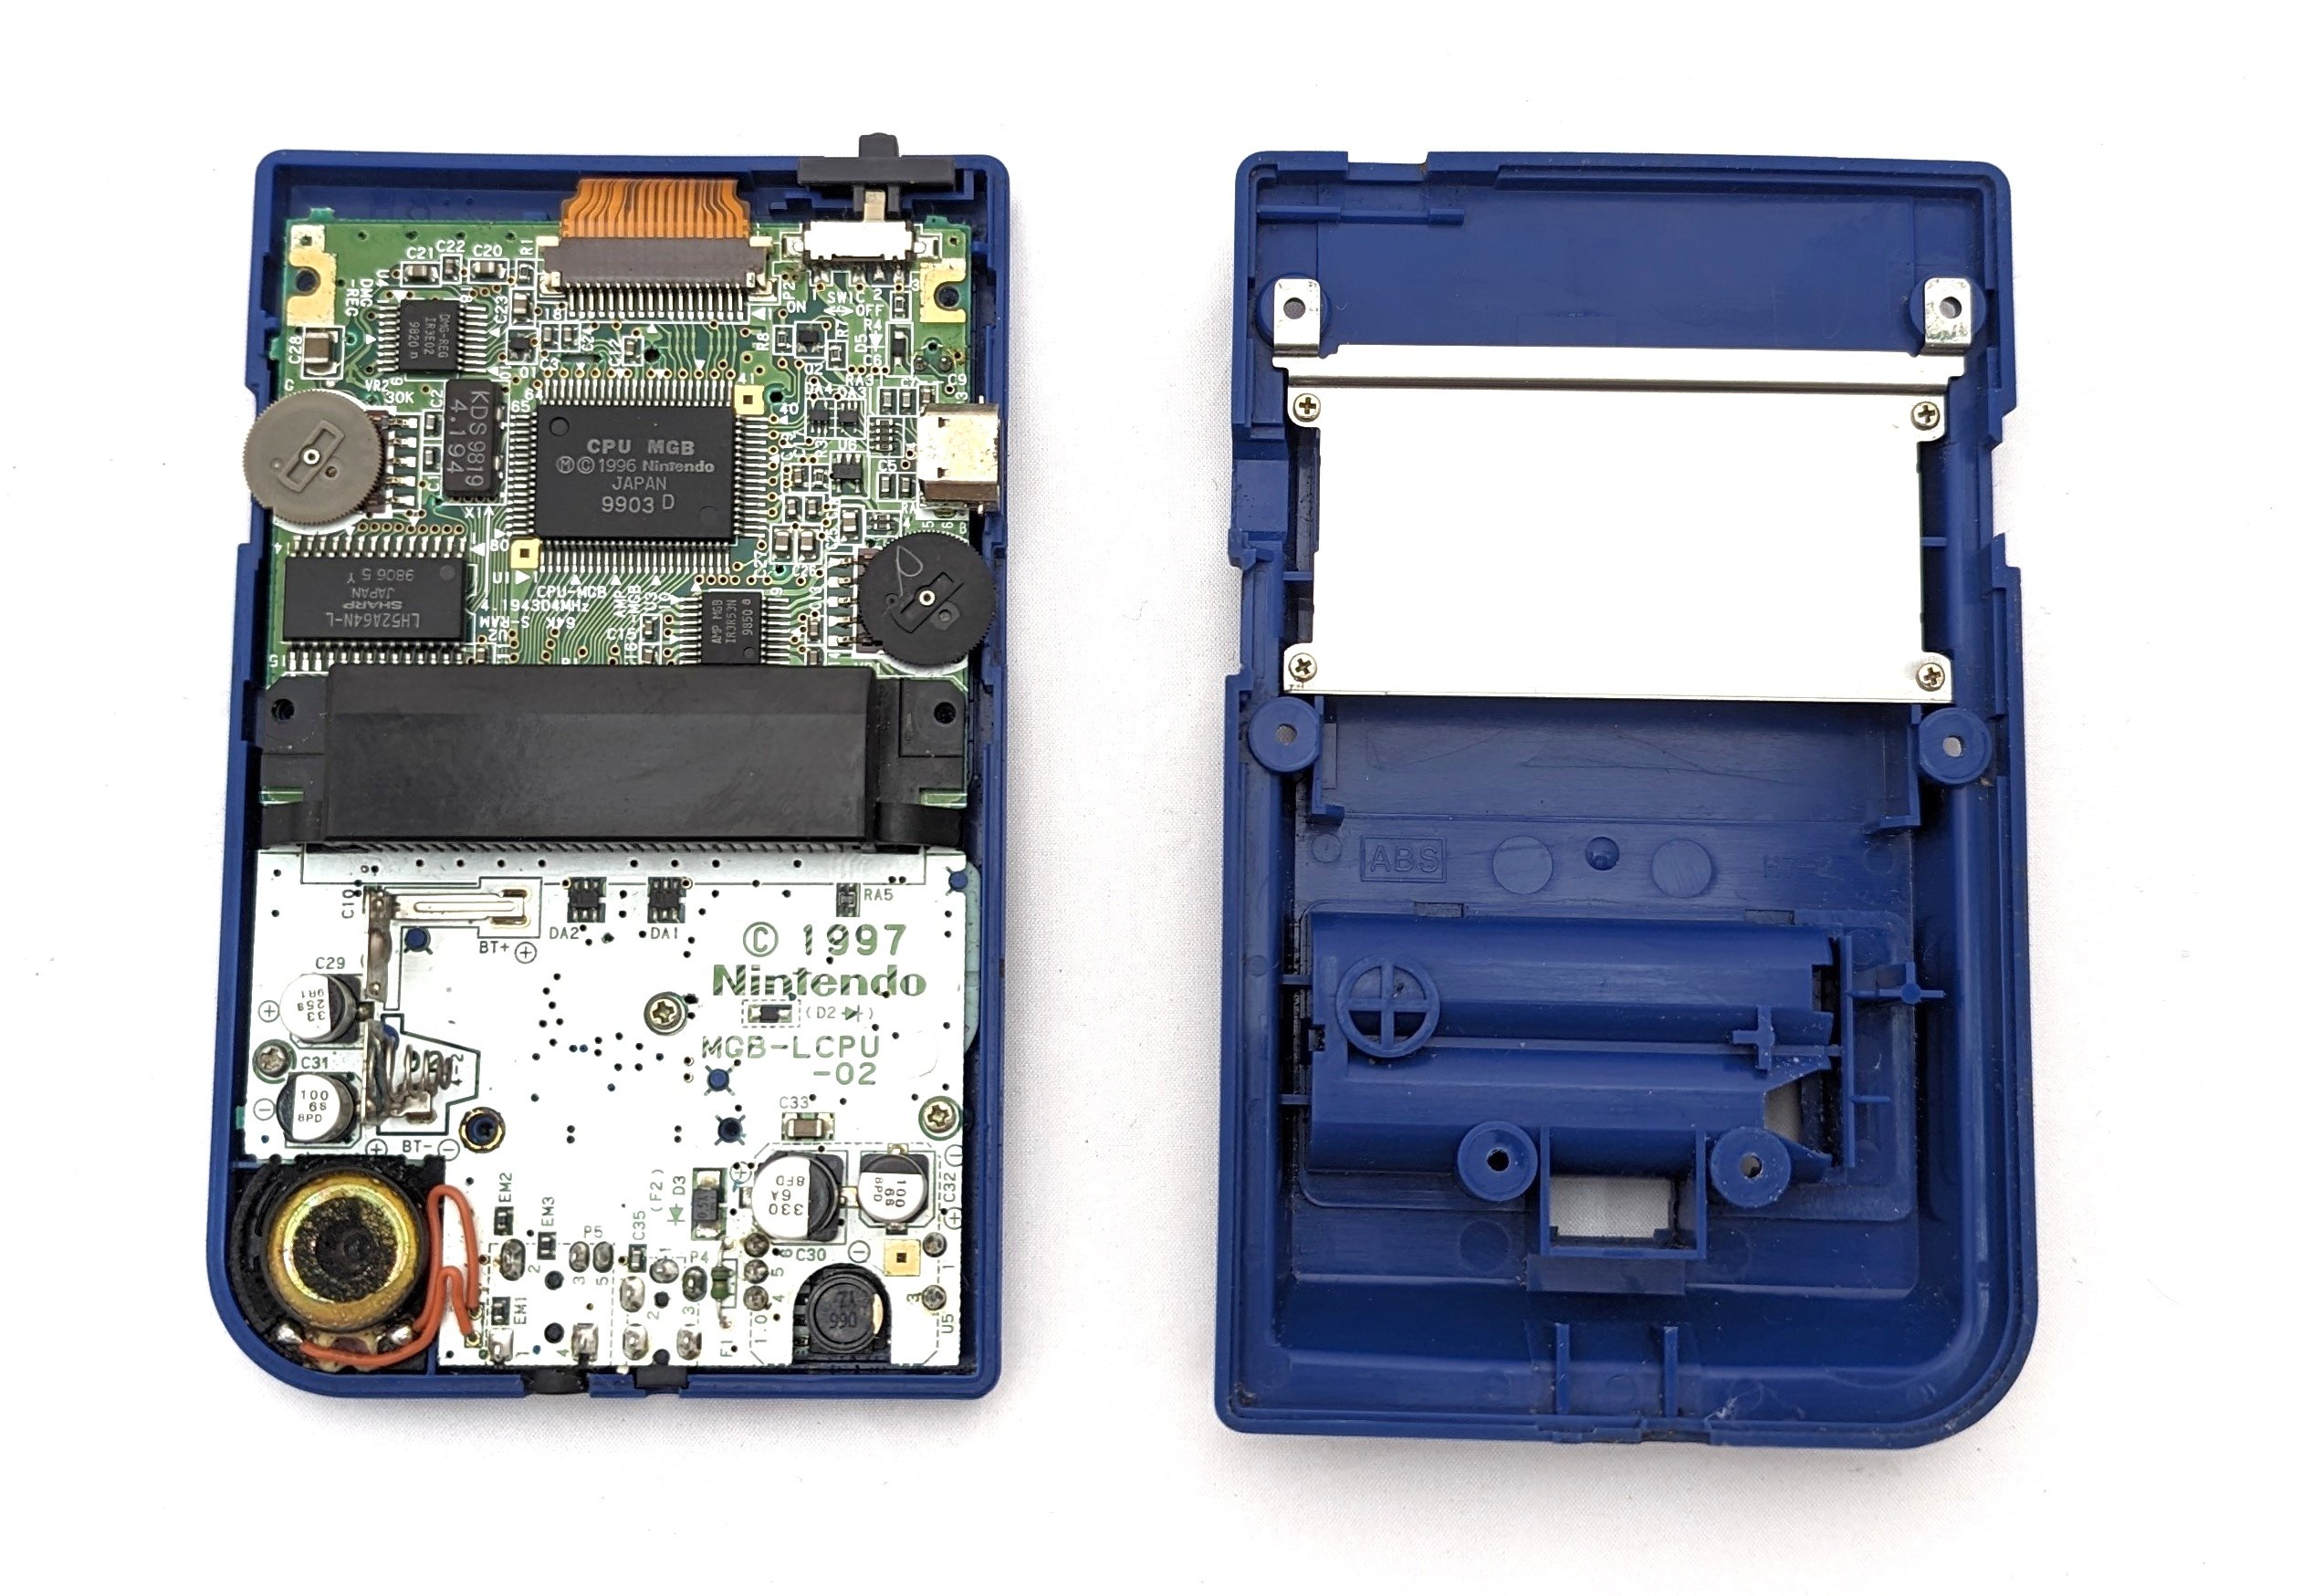
Switch to the Philips Head screwdriver to remove the three internal screws that keep the PCB fixed to the shell.
Note: we highly recommend placing the screws in a small container to keep from losing them!
Once you’ve removed all the screws, you can then take the hardware apart. Start by disconnecting the LCD’s from the PCB by lifting the small white tabs and carefully removing the ribbon cable.
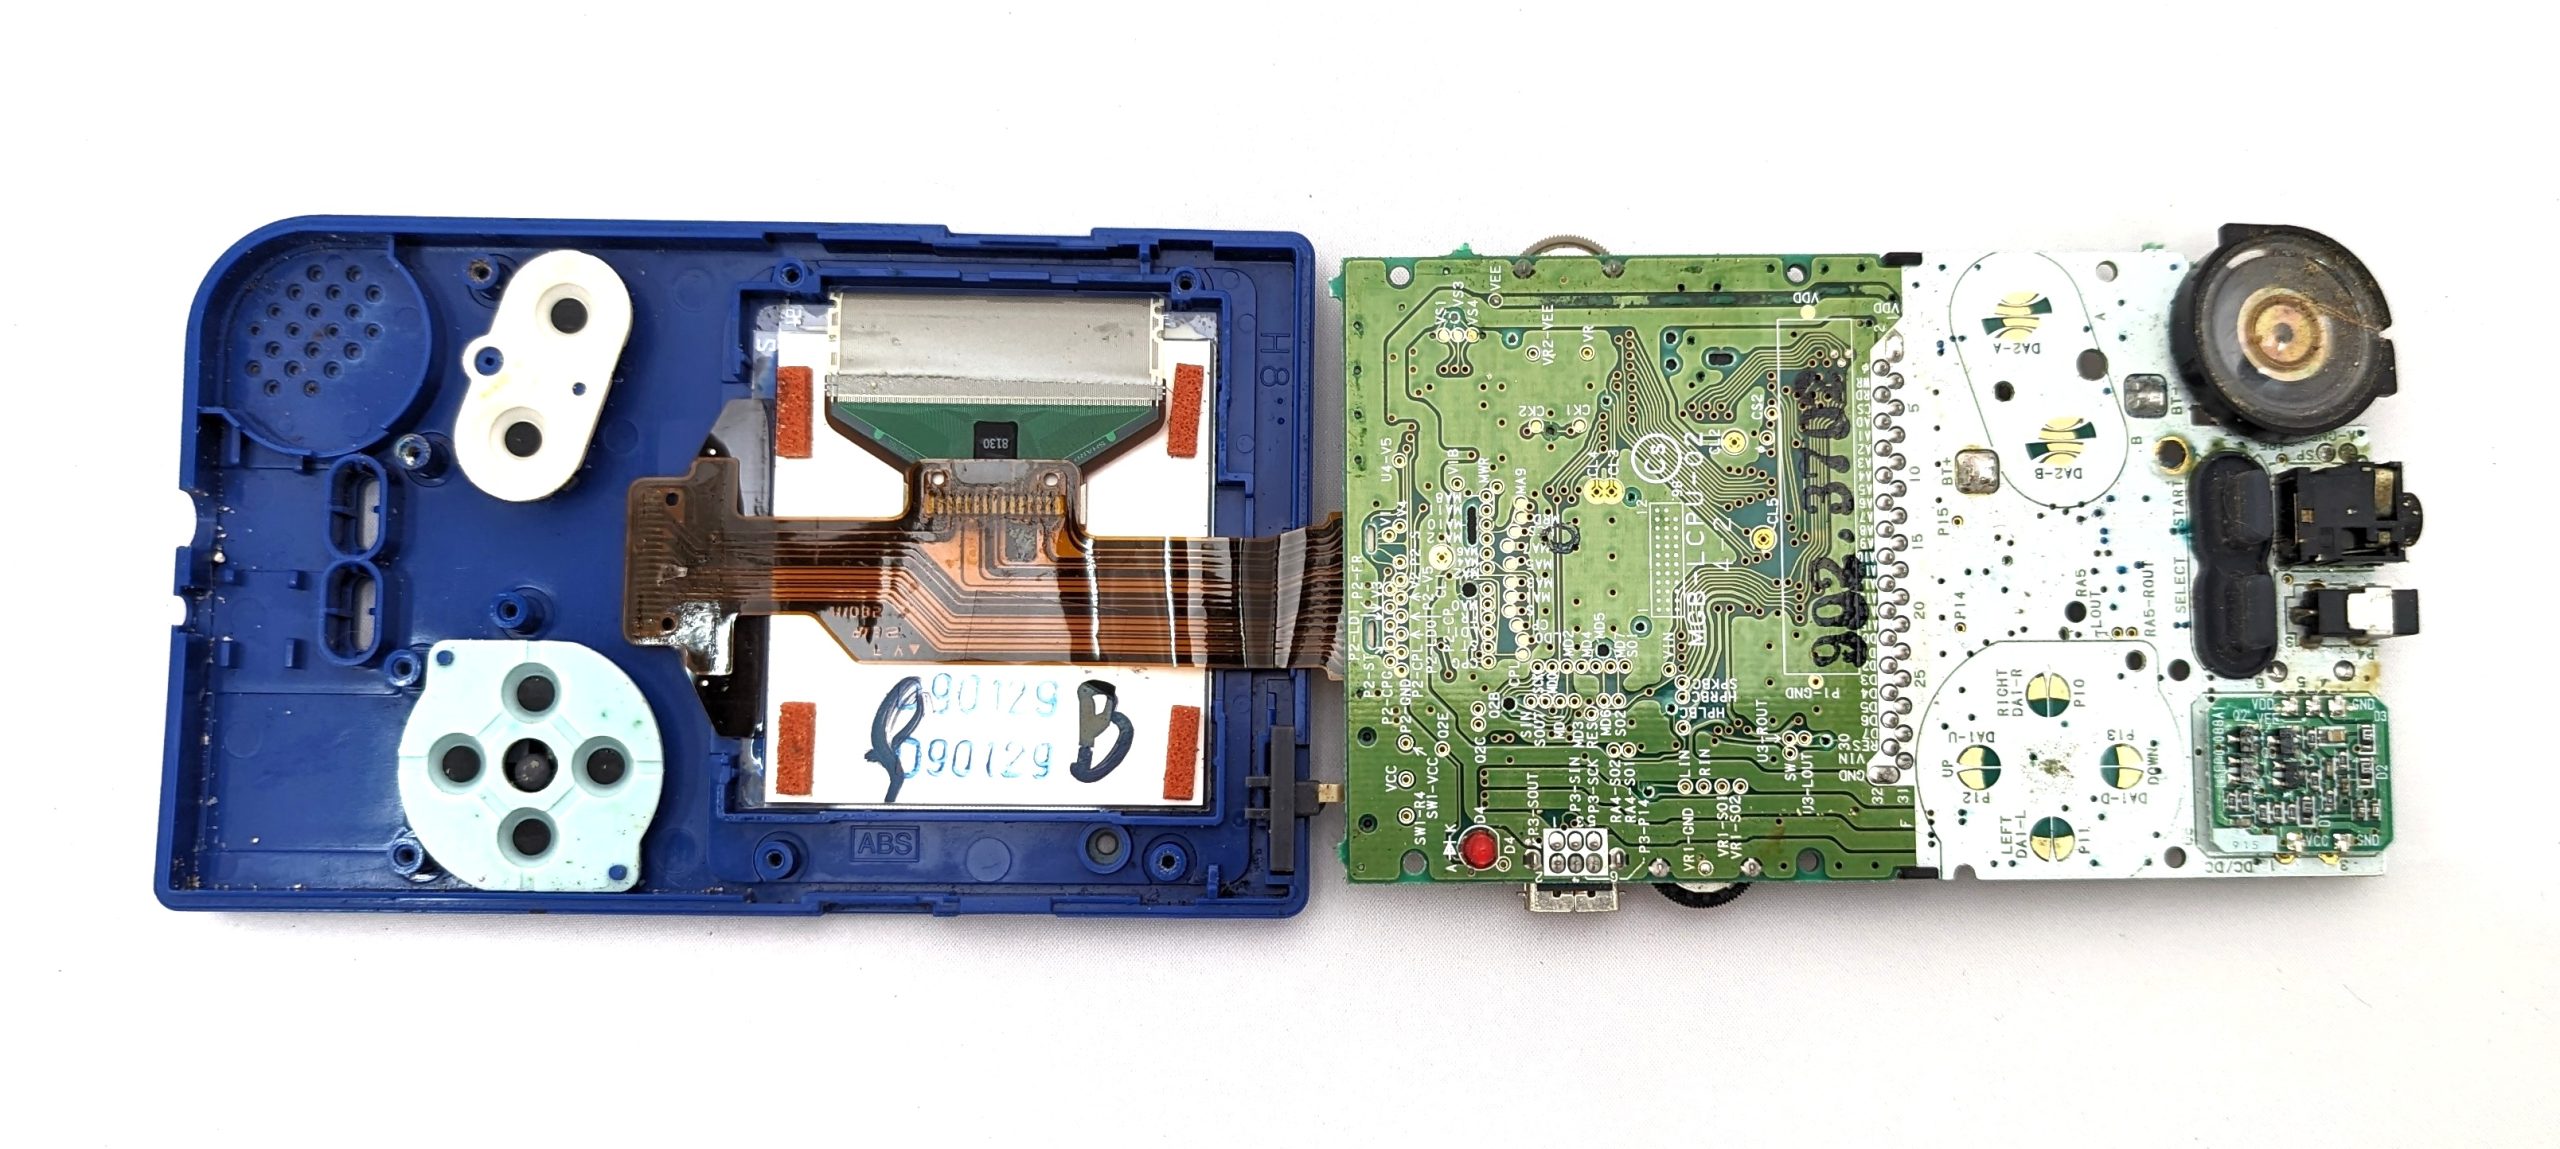
Finally, carefully lift the old LCD from the front of the shell. We highly recommend using a spudger around the edges to pry it loose. You might hear a loud snapping sound. This is normal—the screen is attached to the shell using almost thirty-year-old adhesive.
Step 2: Clean the Game Boy Pocket
These systems are old. If your Game Boy Pocket has seen any love at all, it’s probably a little dirty. In our case, this second-hand MGB turned out to be more than a little dirty. There was battery acid all over the bottom half.
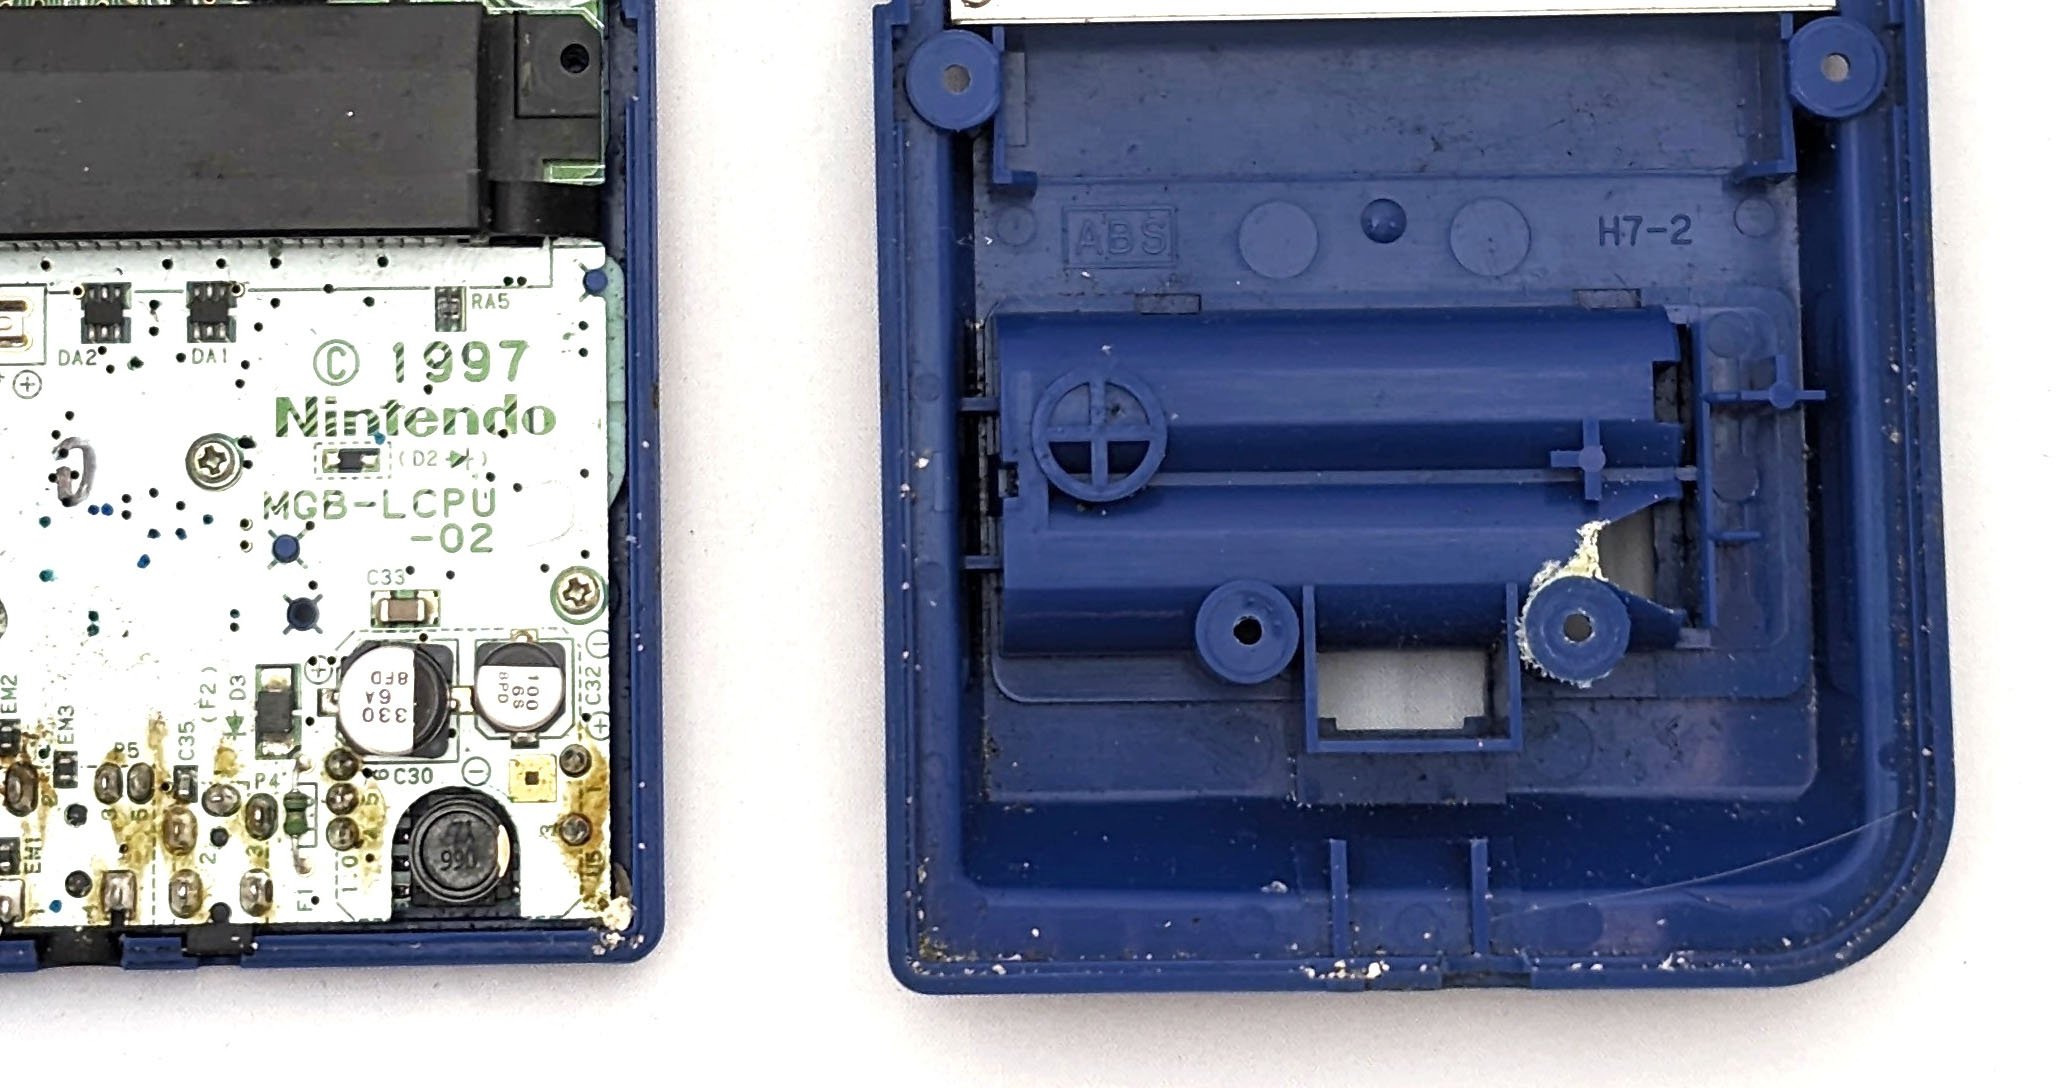
Note: Make sure to wash your hands carefully after touching battery acid!
Step 3: Place the Bracket
The TFT LCD included with this kit is much smaller than the original MGB screen and needs to be braced in the shell to keep from sliding around. Retro Modding’s website says the kit includes a three-piece laser cut bracket labeled top, left, and right, that fit into the appropriate places to centre the LCD in the viewport.
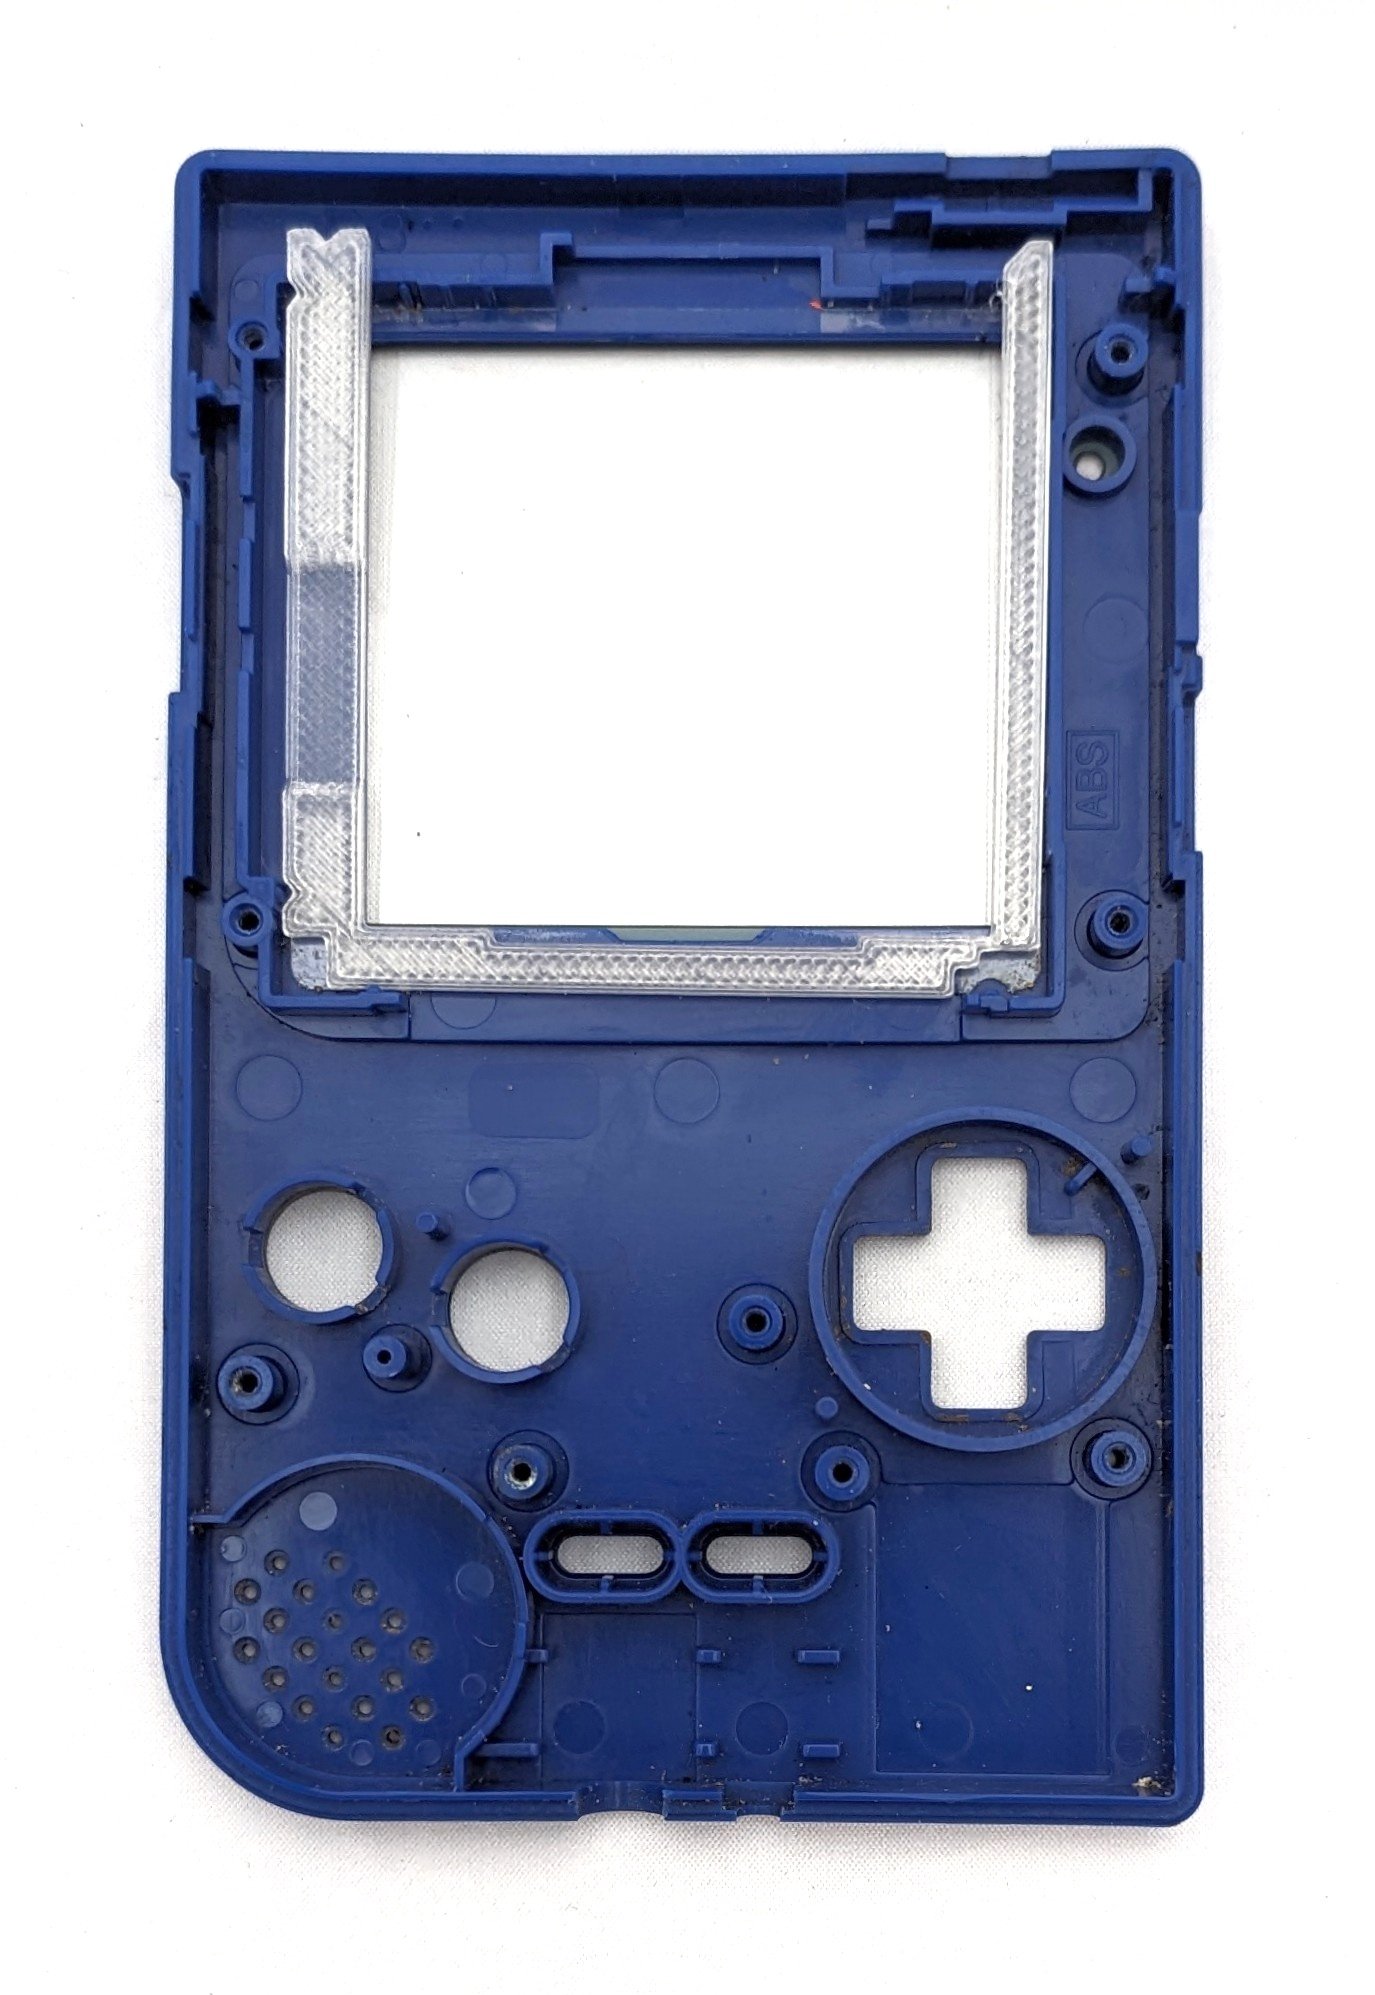
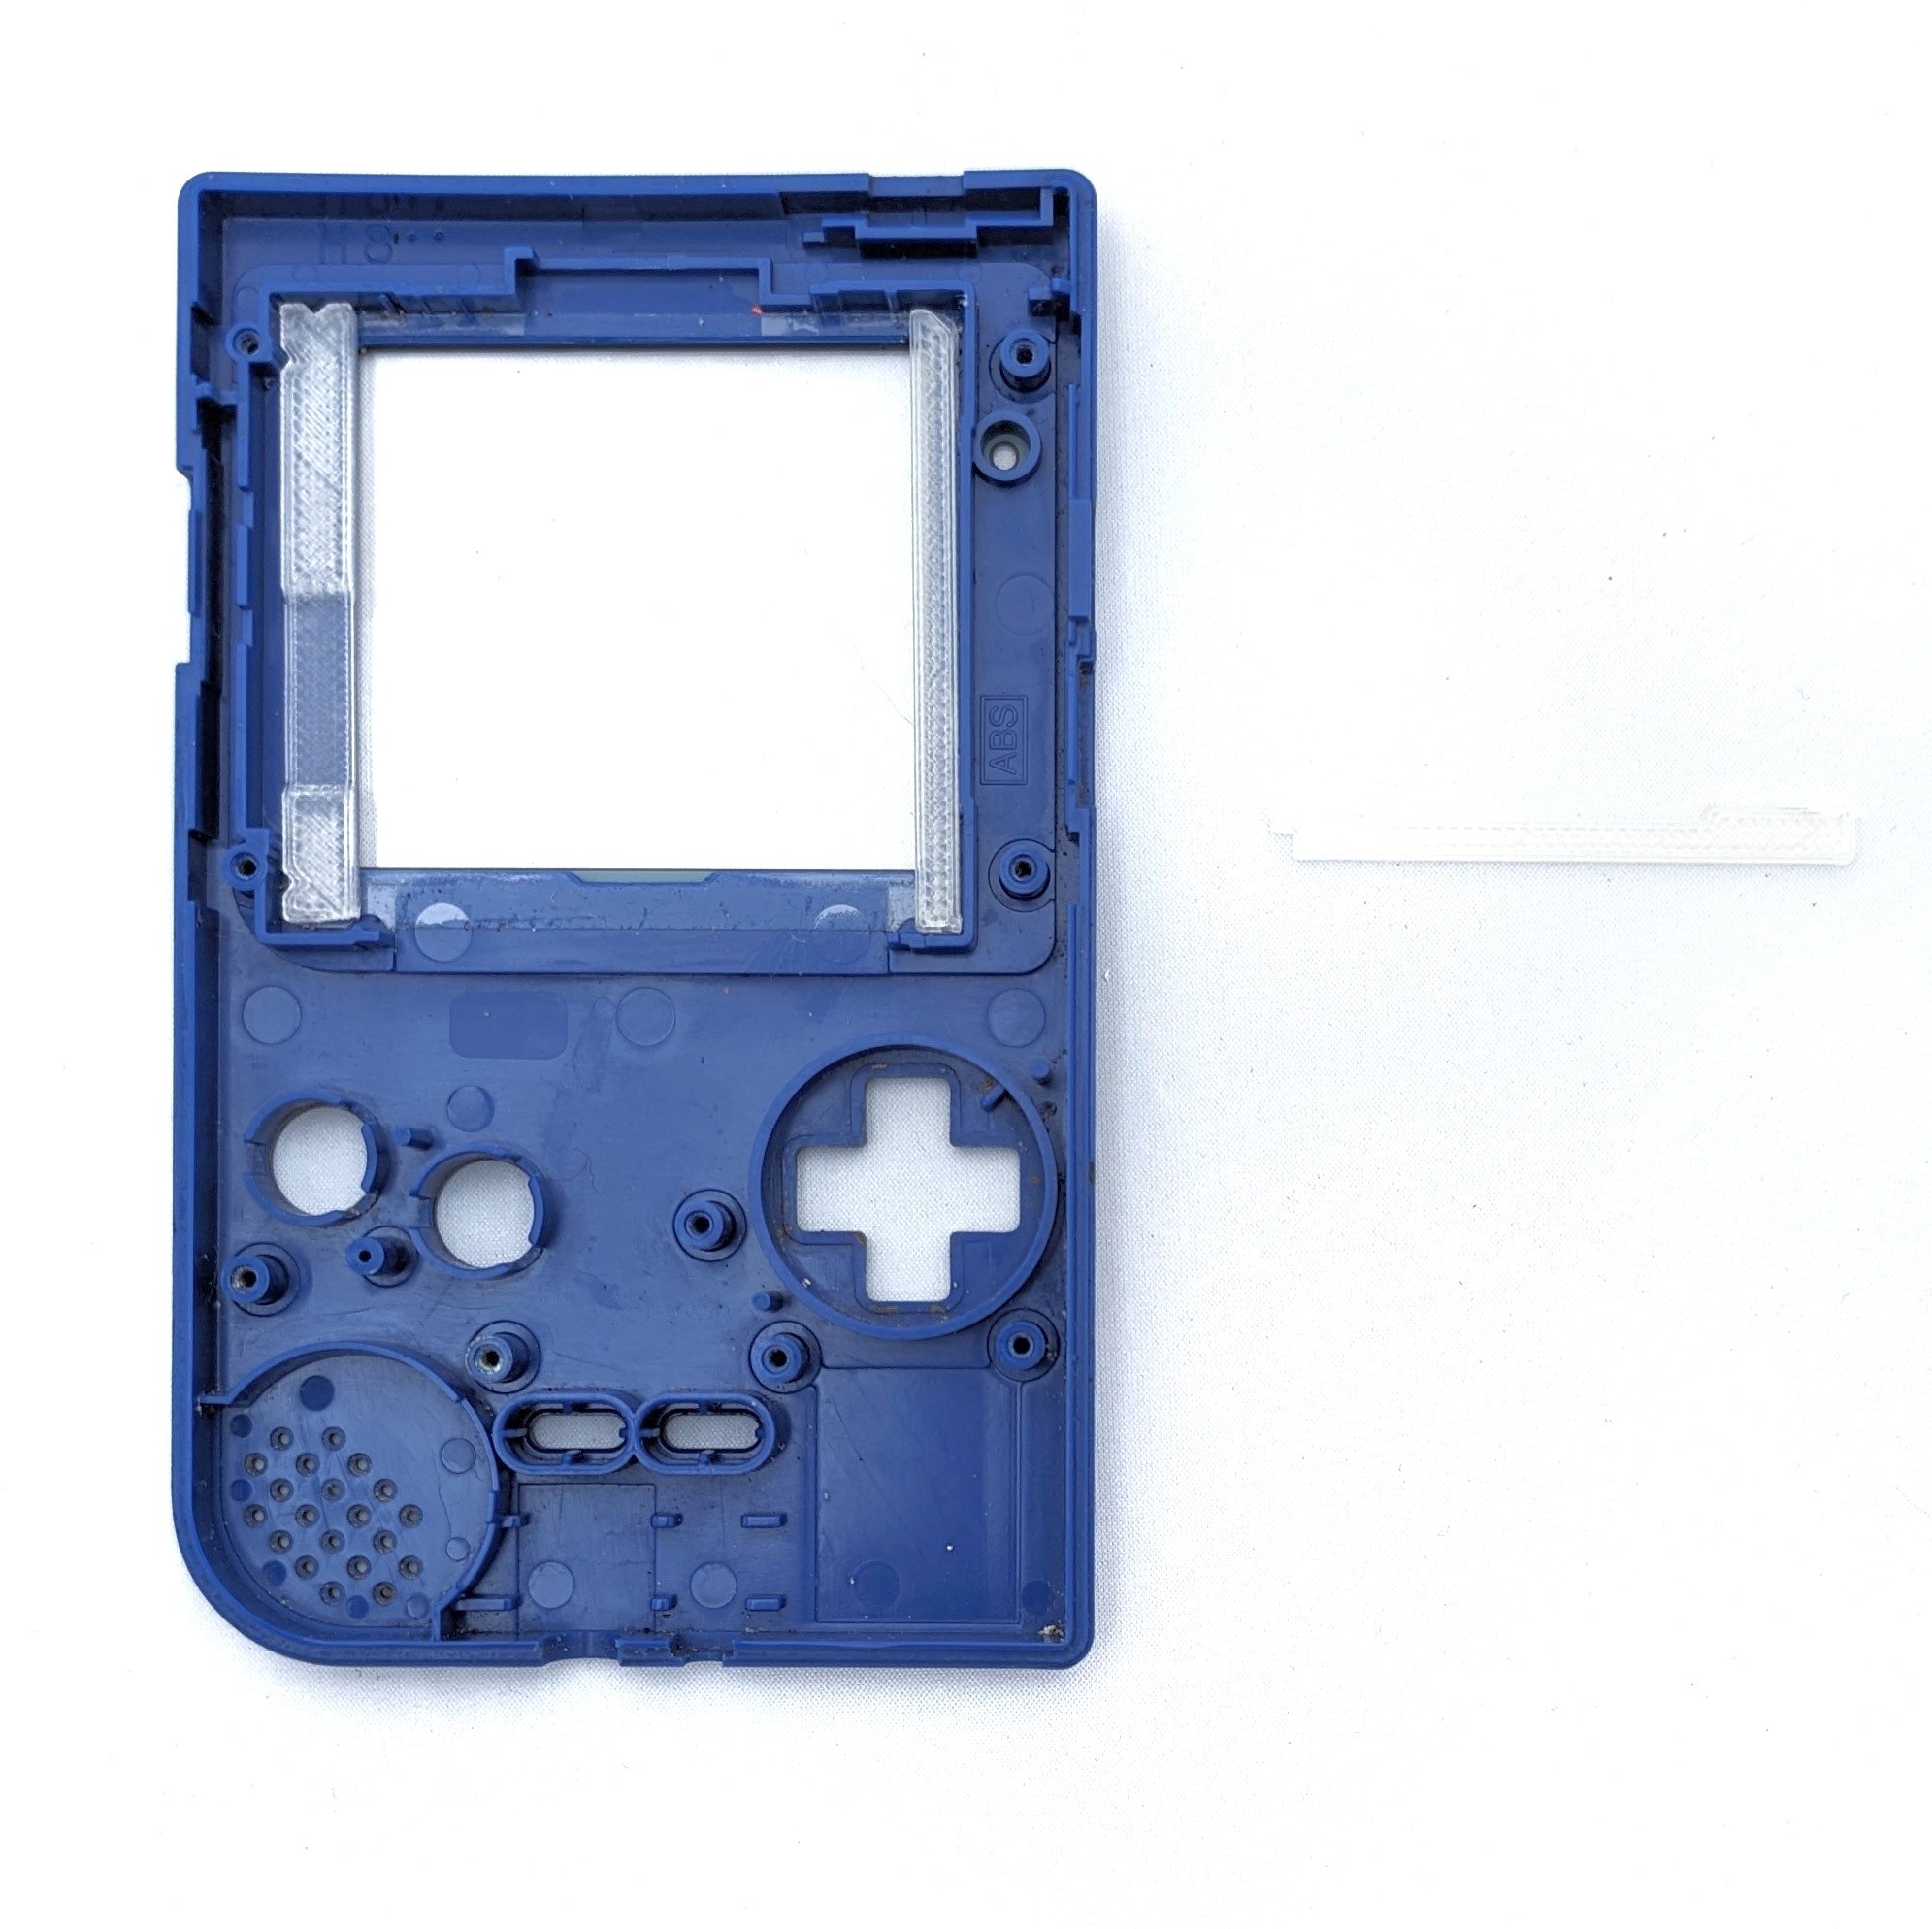
For reasons unknown, our product included a 3D printed bracket that didn’t fit in the shell (note how it’s too tall for the viewport). We decided to use flush cutters to clip the sides and use those.
 |
 |
| The original form of the bracket, which doesn’t fit with this model of Game Boy |
A modified bracket, removing the bottom segment |
Use thin pieces of double-sided tape to stick the bracket to the shell. If you don’t have double sided tape on hand and if the existing adhesive is still sticky, you can use the tape that’s already there.
Step 4: Place and Insulate the LCD
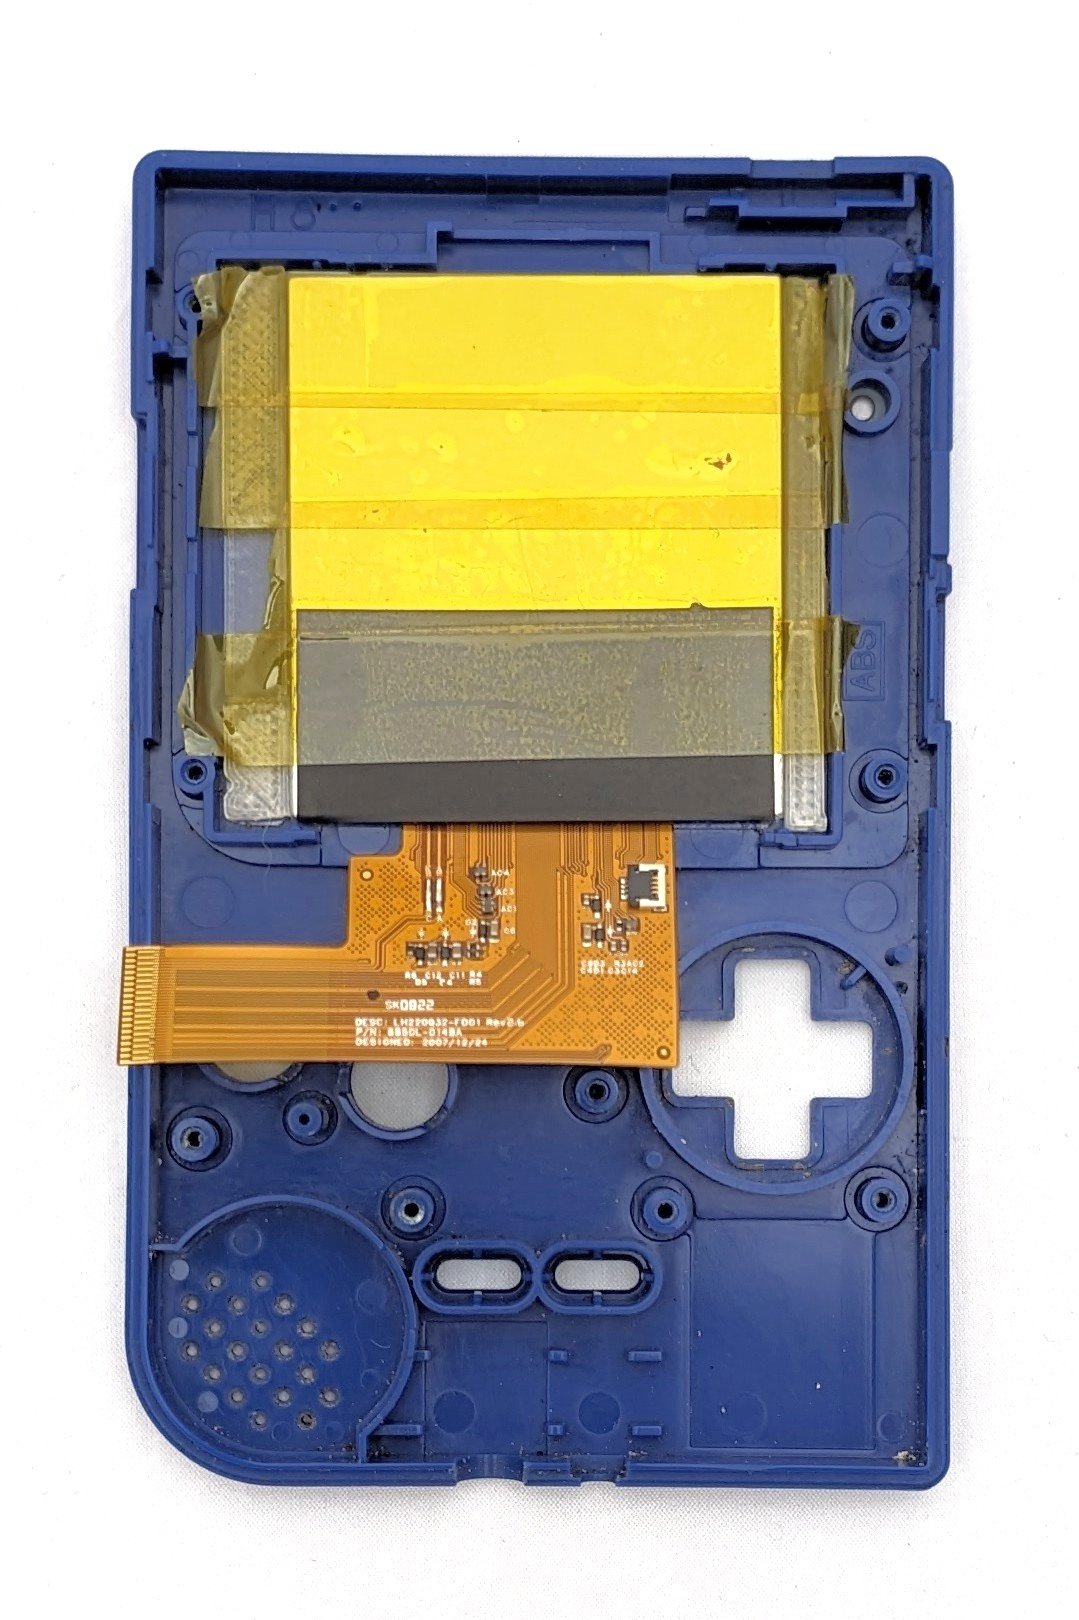
Set the LCD in place and insulate the back with Kapton tape to protect your screen from shorting—when modding, you want to avoid stacking conductive materials atop one another. Keep in mind that the screen is much smaller than the viewport and you will be able to see into the space around it. If you don’t want to see the Kapton tape around the edges, cut it more precisely than we did!
Step 5: Connect the Ribbon Cables to the PCB
There are three ribbon cables to connect to the board:
- A cable from the LCD
- A cable for the touch controller
- A cable to the MGB
On the first cable, you’ll see two white lines that indicate how far the cable should be inserted. When the connection reaches the first white line, you can snap the tab on the PCB in place to hold it.
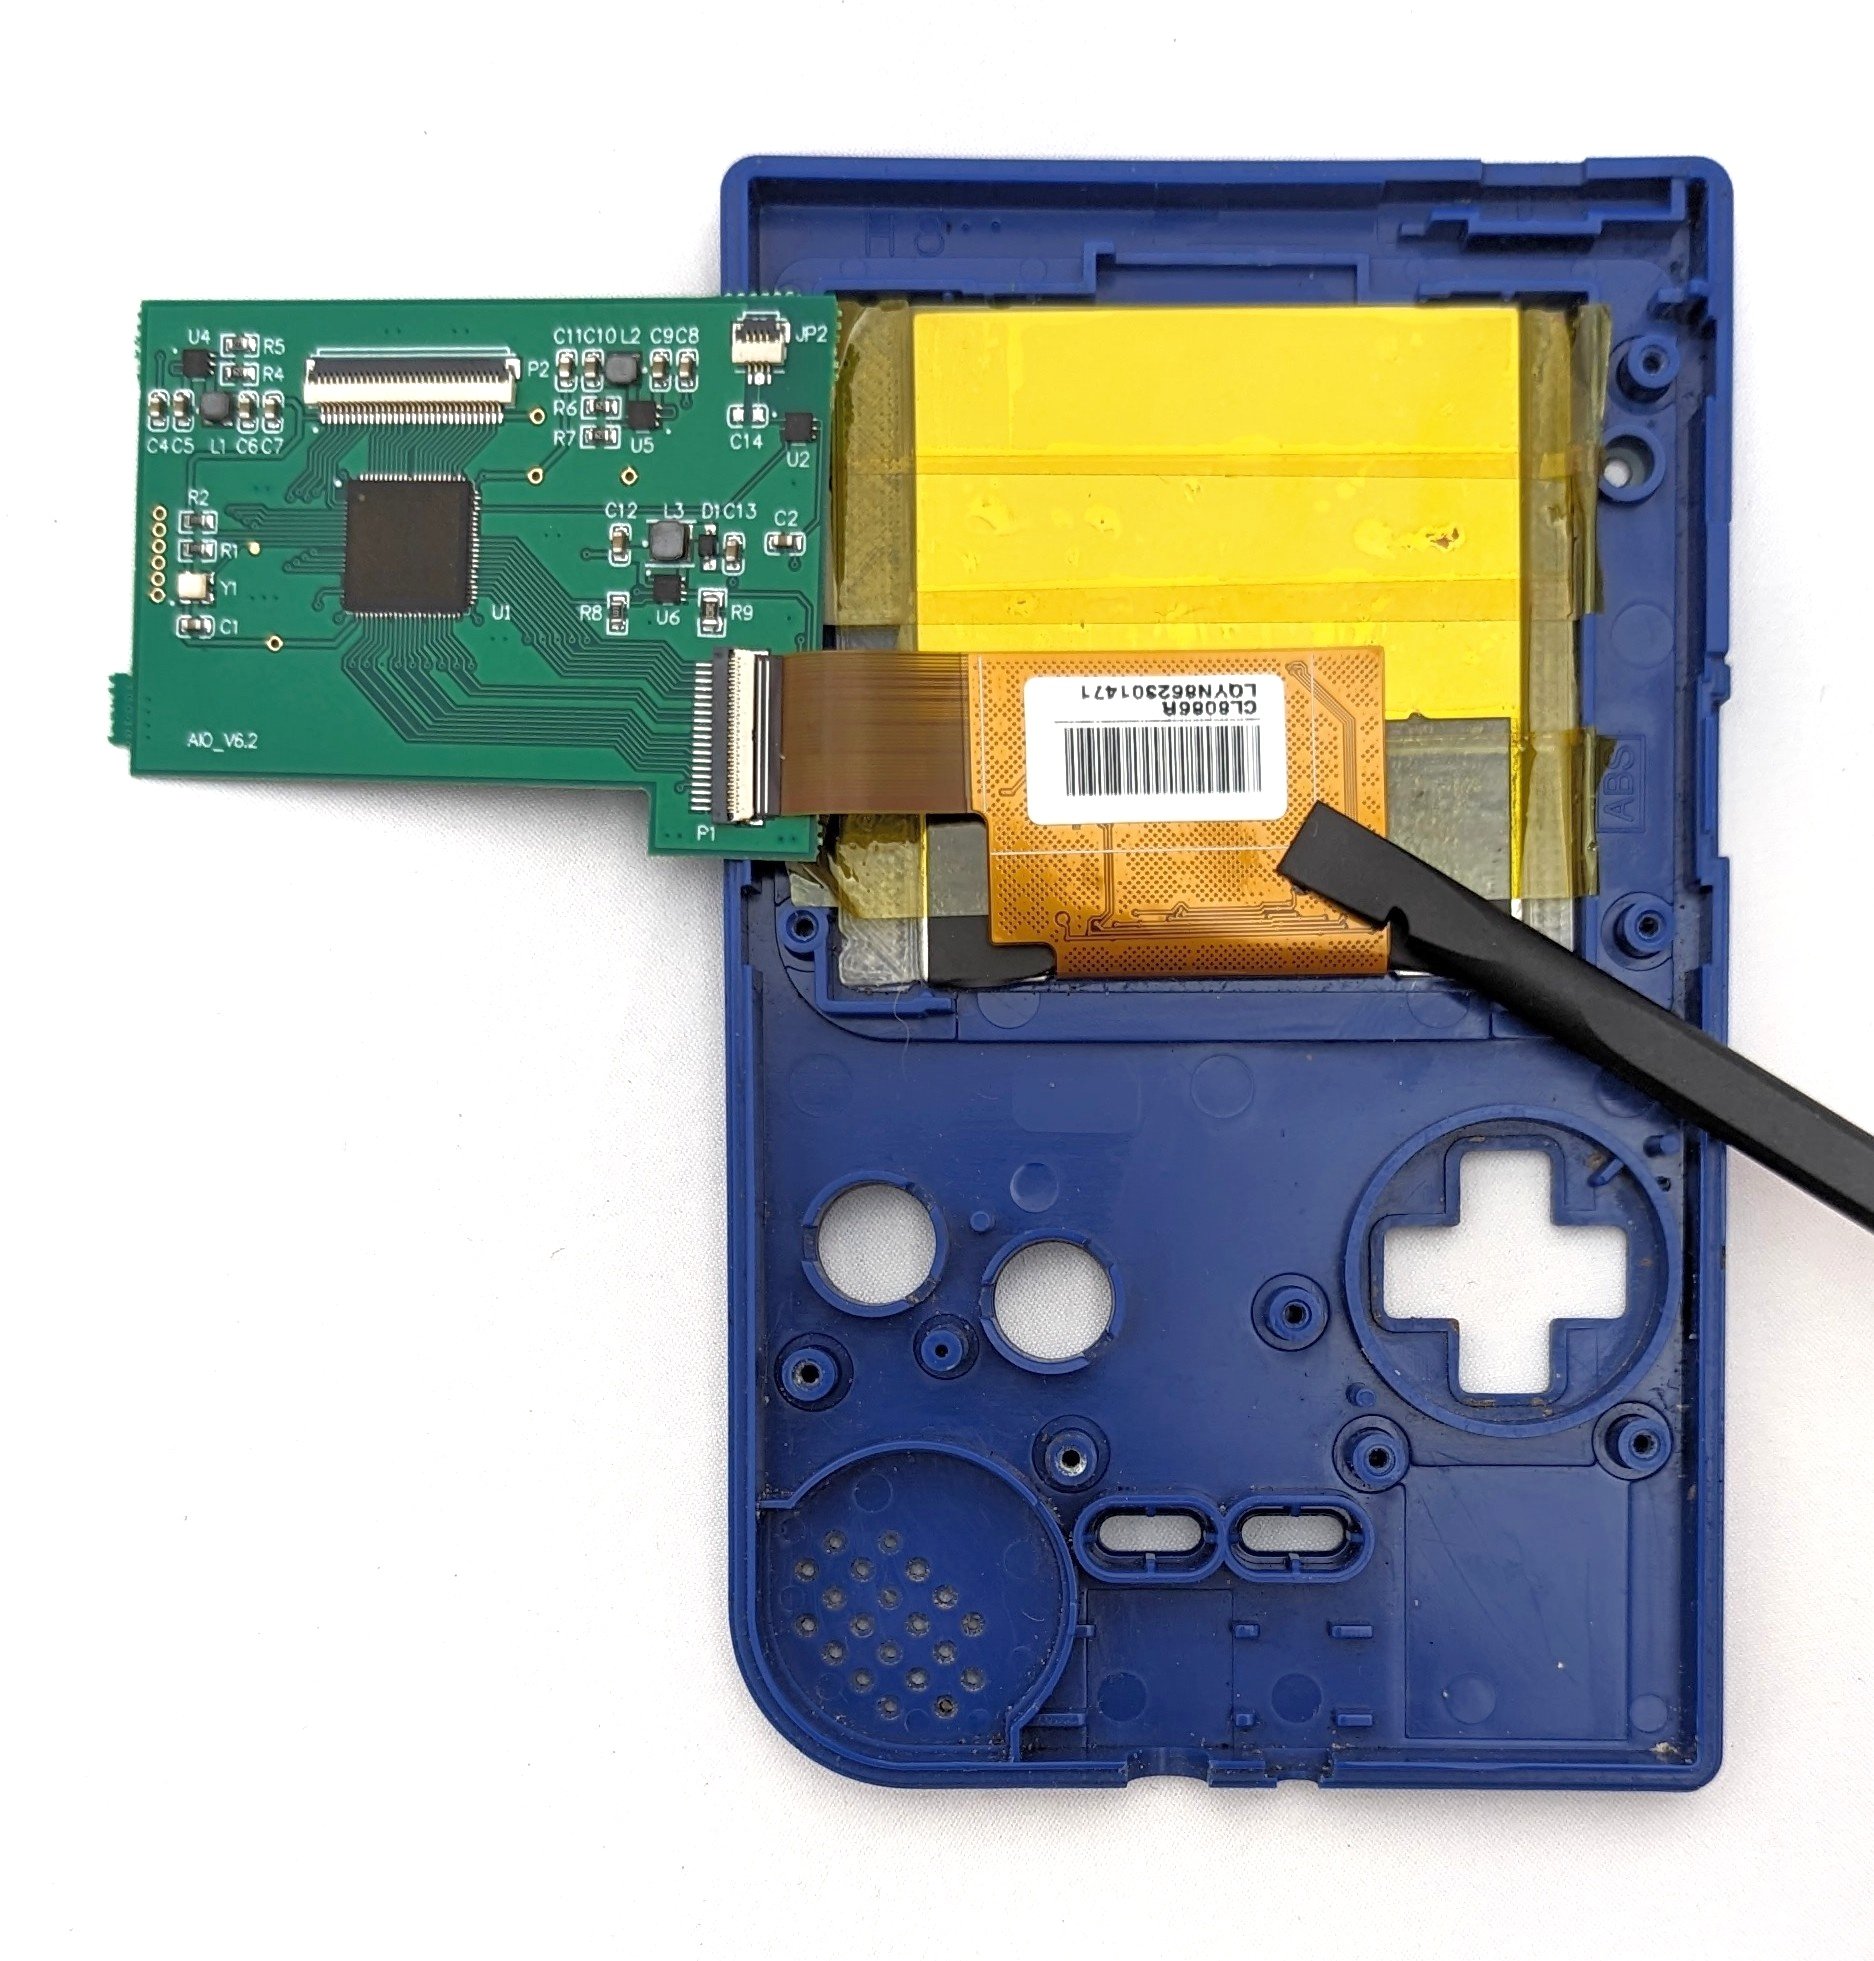 |
 |
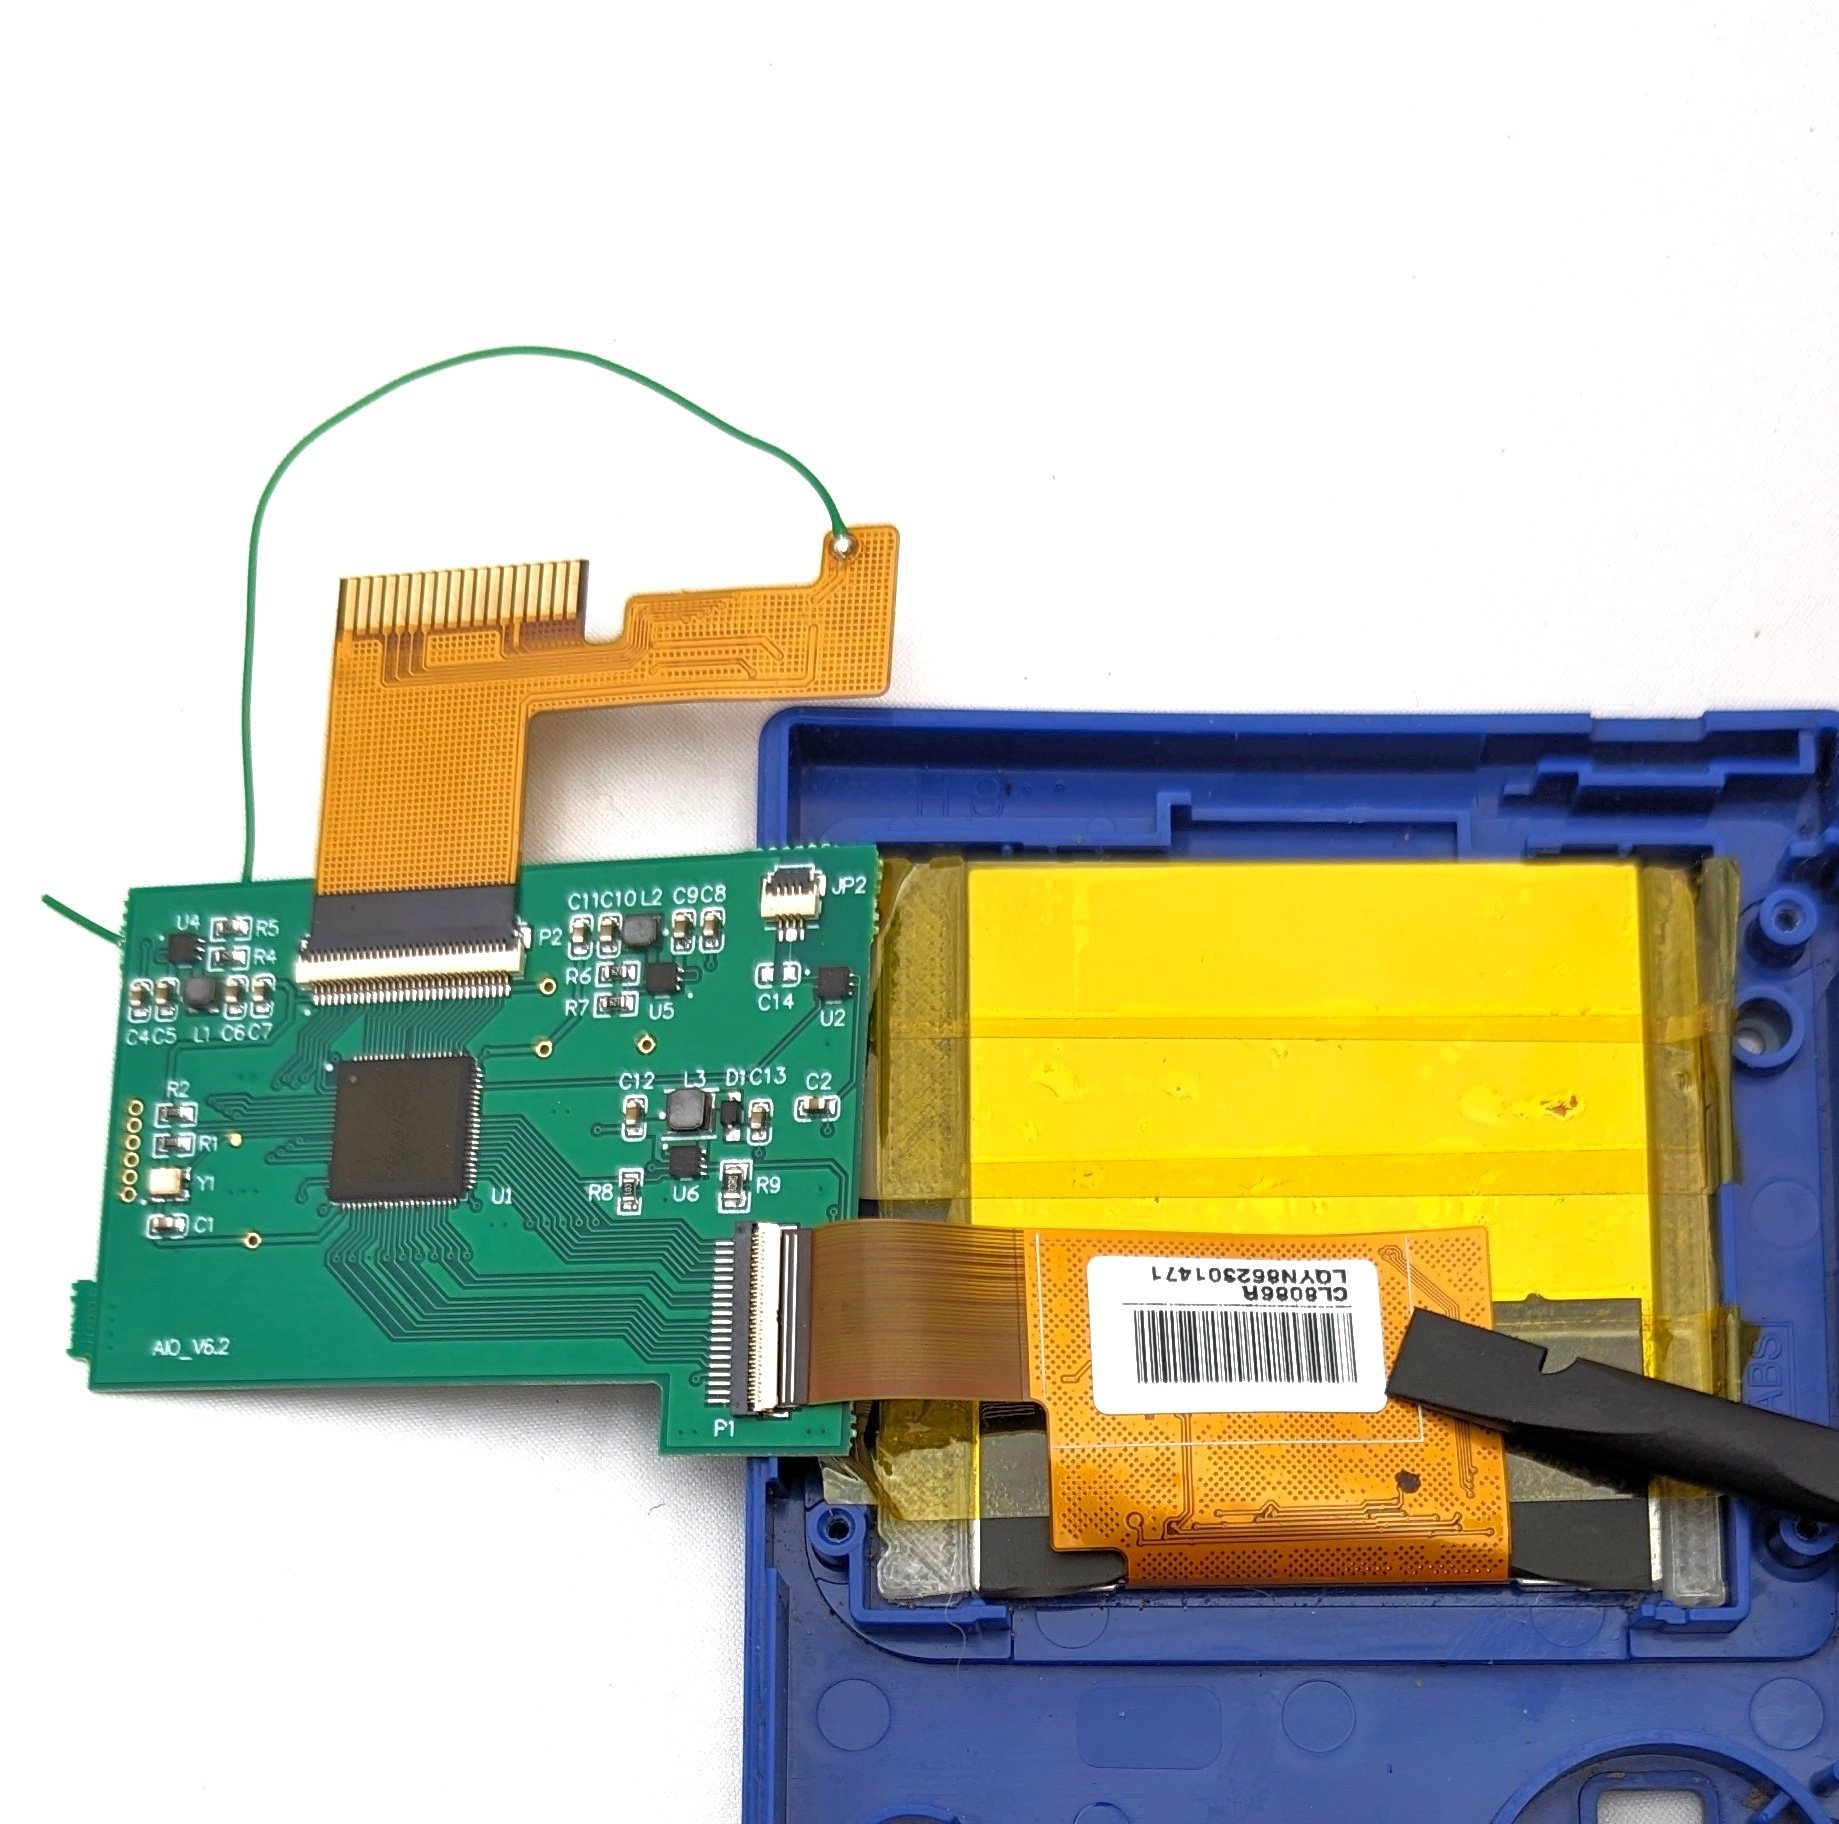 |
| Cable from the LCD | Cable to the touch controller | Cable to the MGB |
Note on the brightness controller: the MGB doesn’t include a spot for the brightness controller. Brave modders can take a Dremel to the shell to create an access port to the brightness controller. Alternatively, you can skip connecting the touch controller cable altogether and use the screen at its standard brightness level, which is more than sufficient. If you chose to use the brightness controller, it connects via the small port on the PCB.
Finally, connect the third ribbon cable (the one with the wire). This one will connect to the Game Boy Pocket.
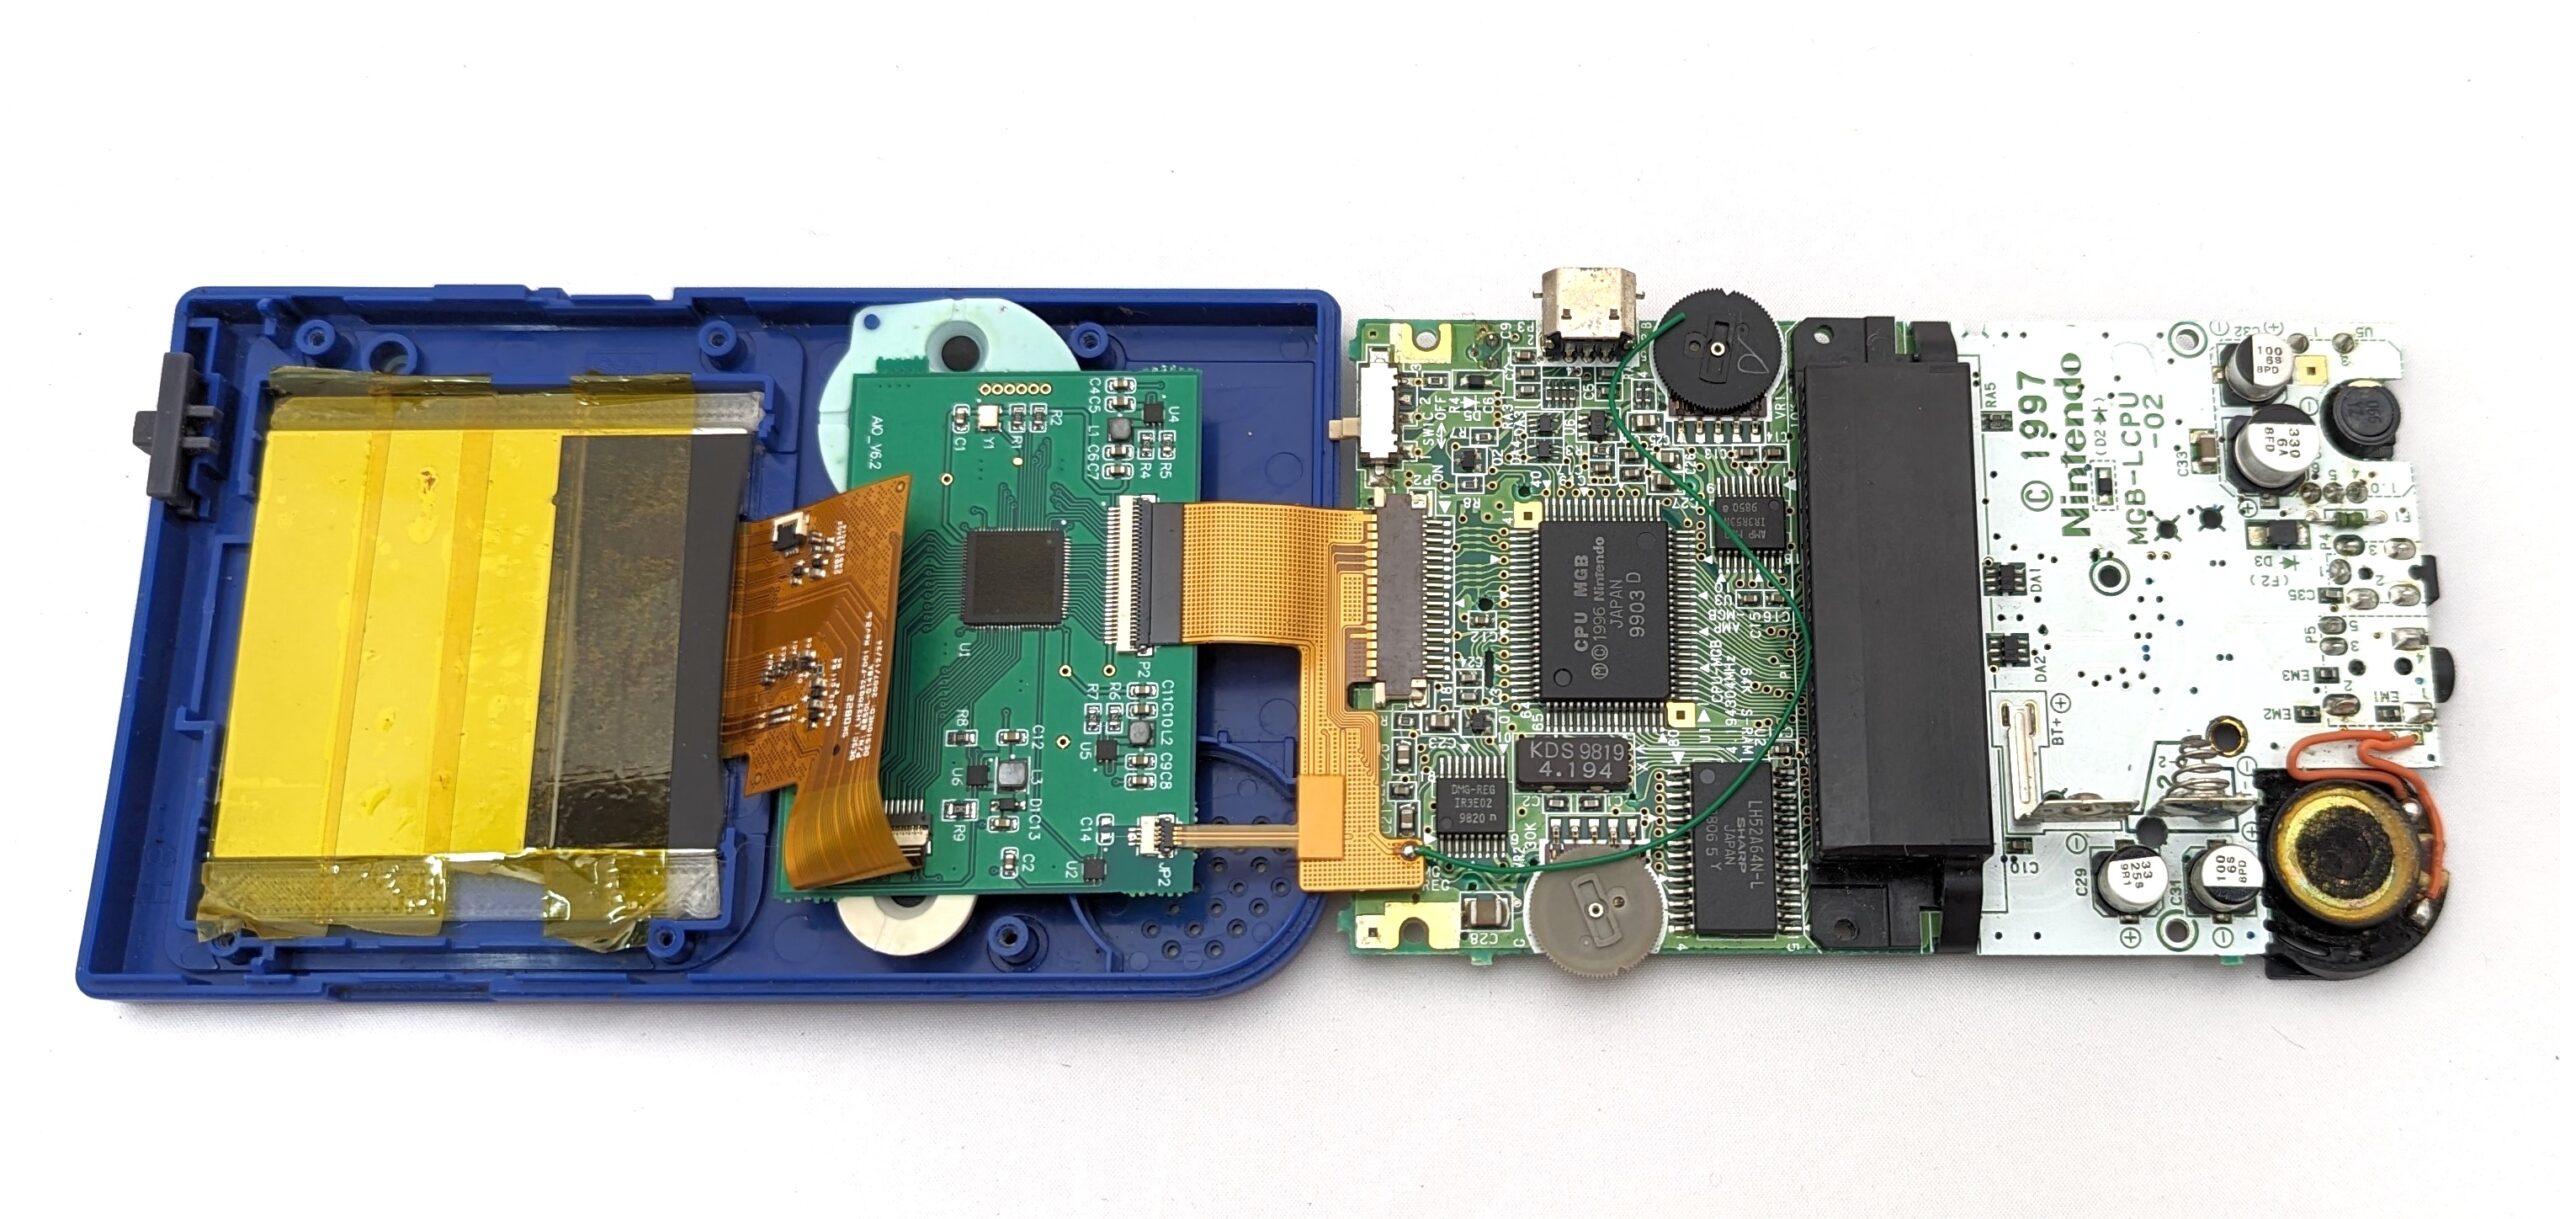
Step 6: Connect the Backlight PCB to the MGB
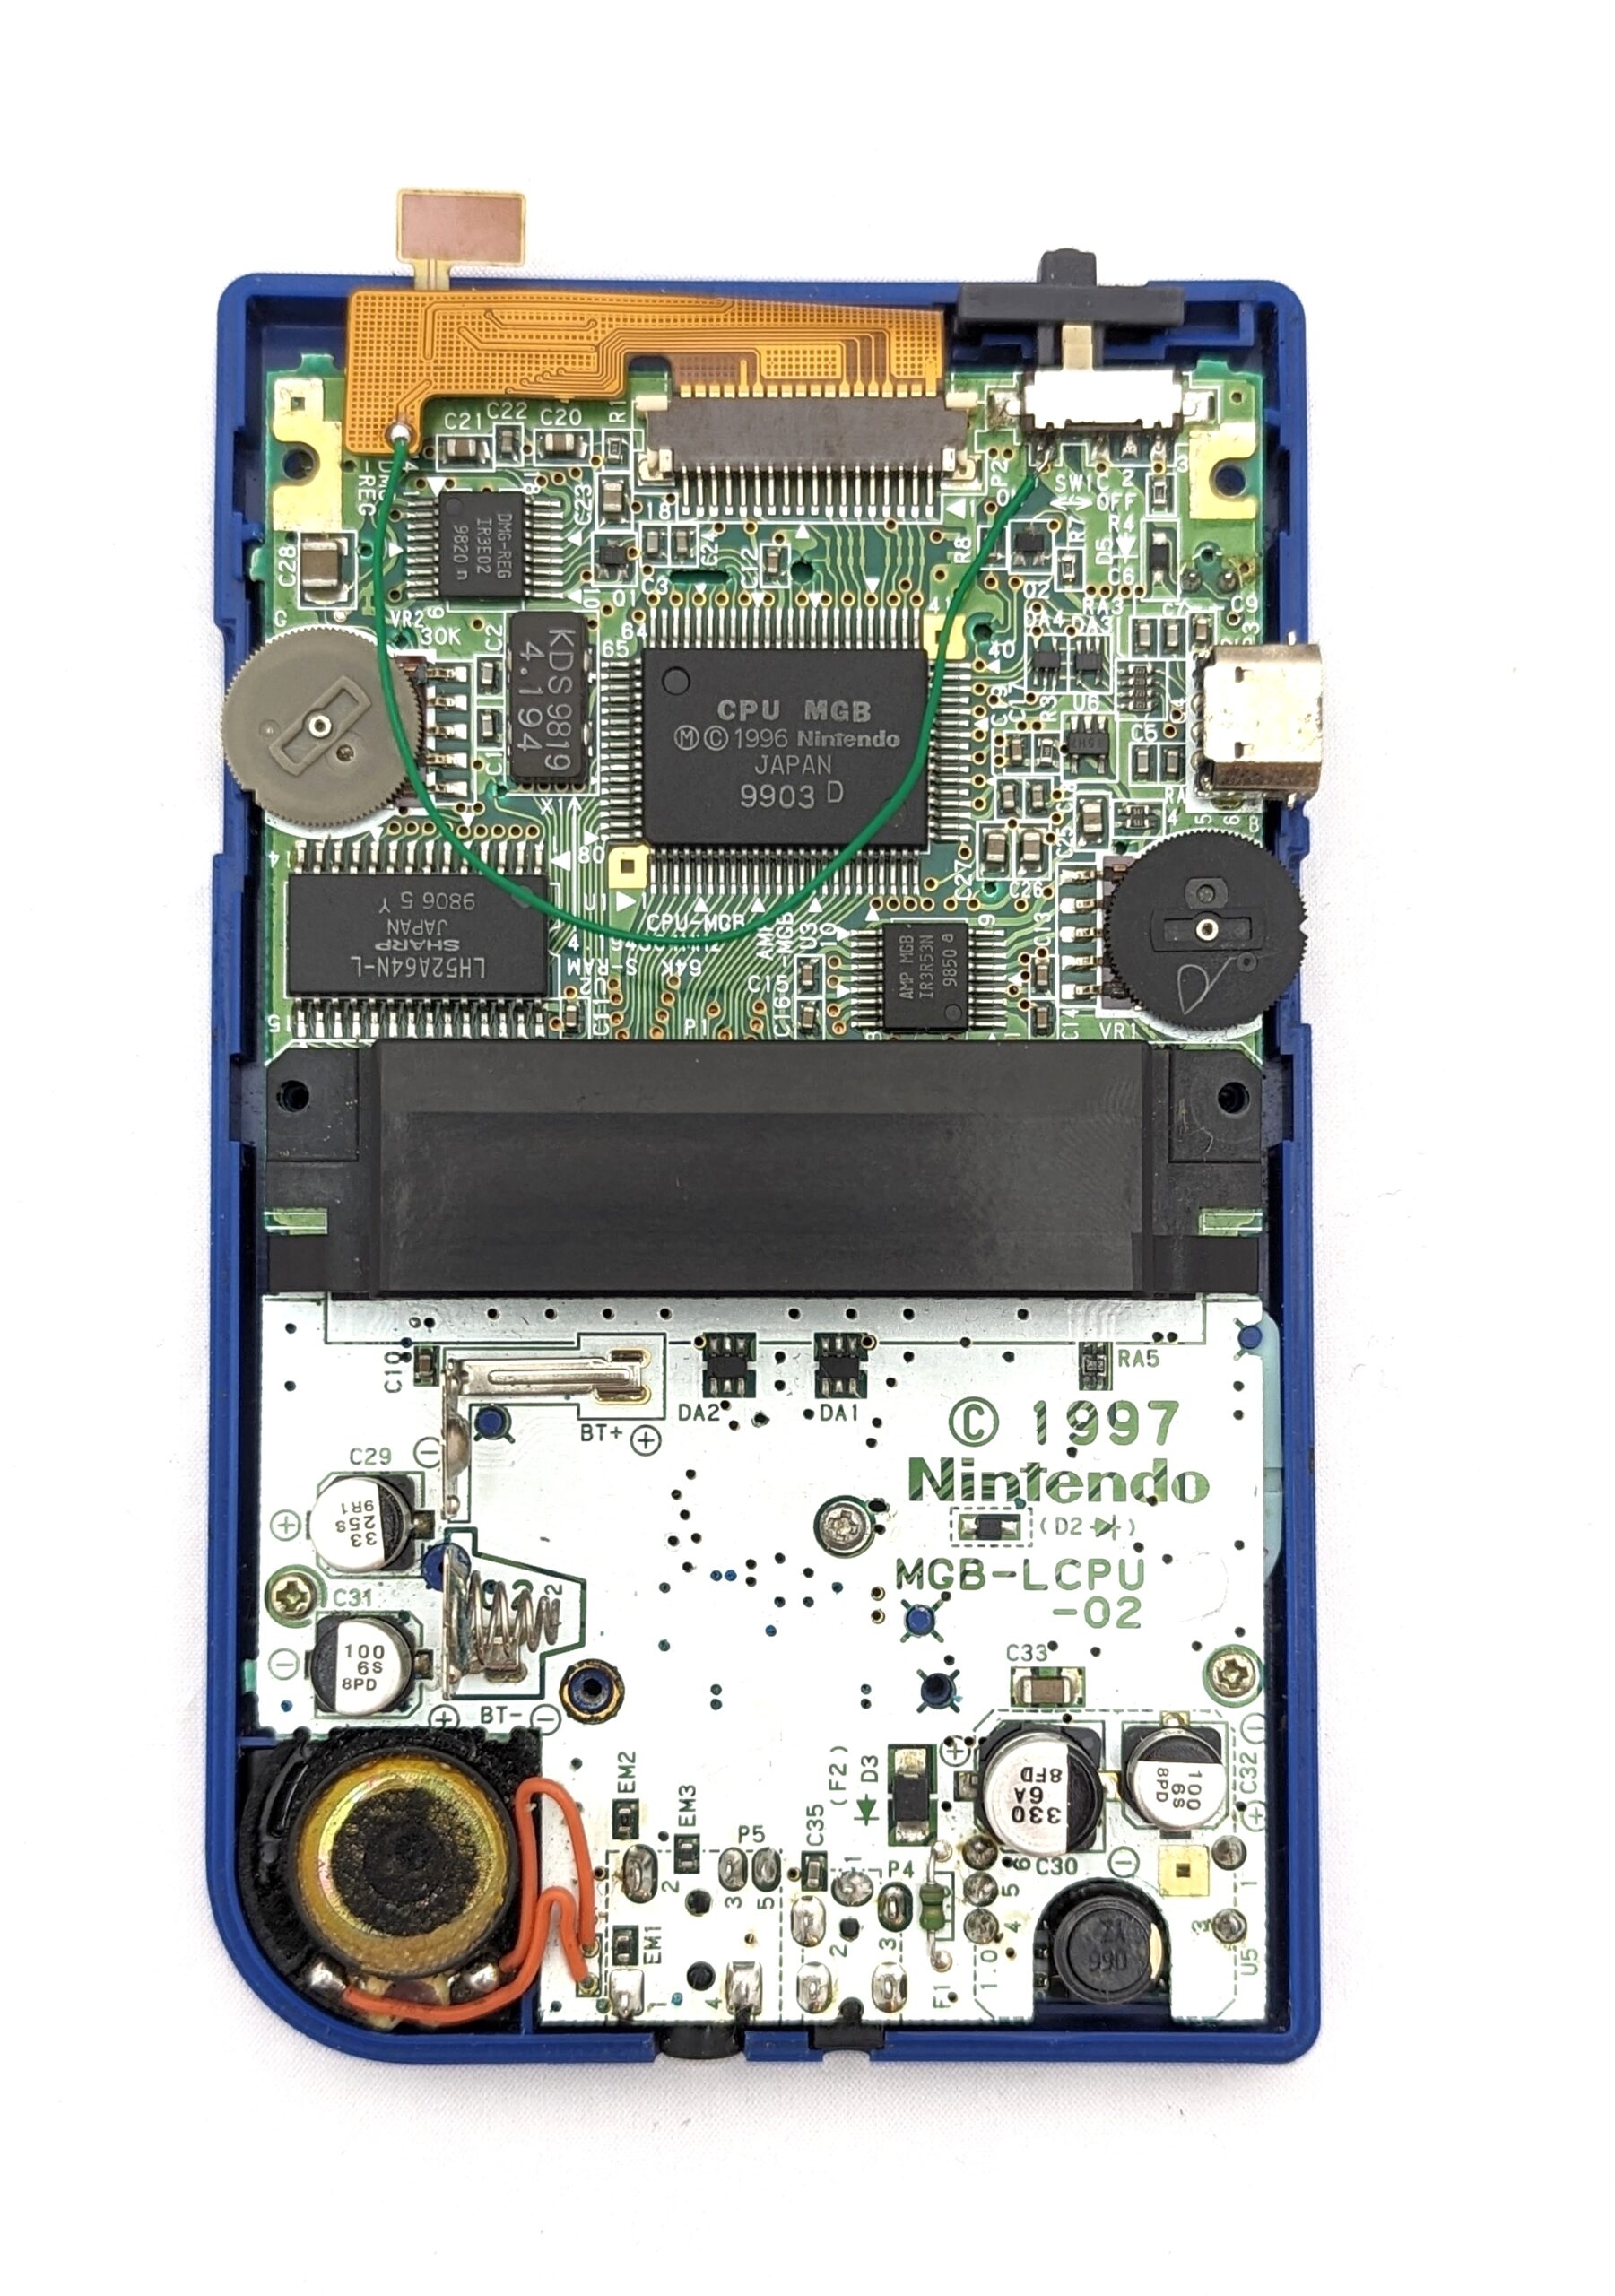
Fold the LCD ribbon cable up so that it rests behind the insulated LCD as shown. Then, fold the cable to the side so that the backlight PCB is on top of the LCD. Fold the top cable down. To connect the ribbon cable to the MGB, place the tab in the slot until it won’t go any further and then press down on the two white tabs. This will lock it in place.
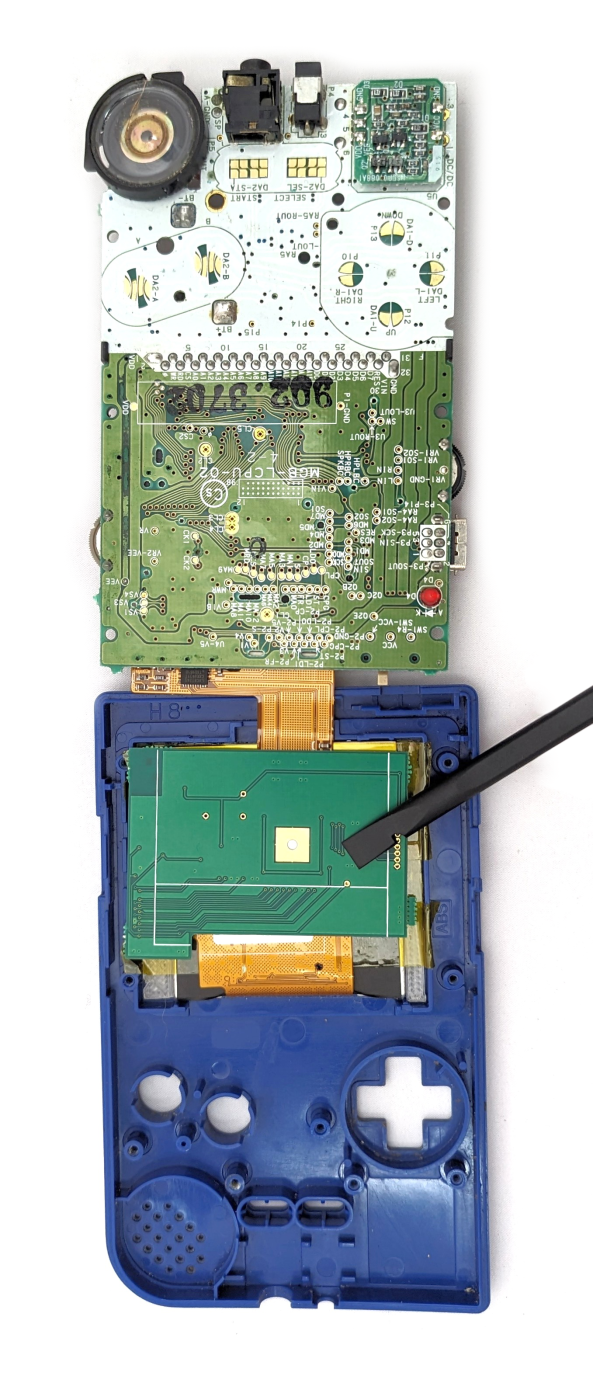 |
 |
Step 7: Solder the Backlight to the Power
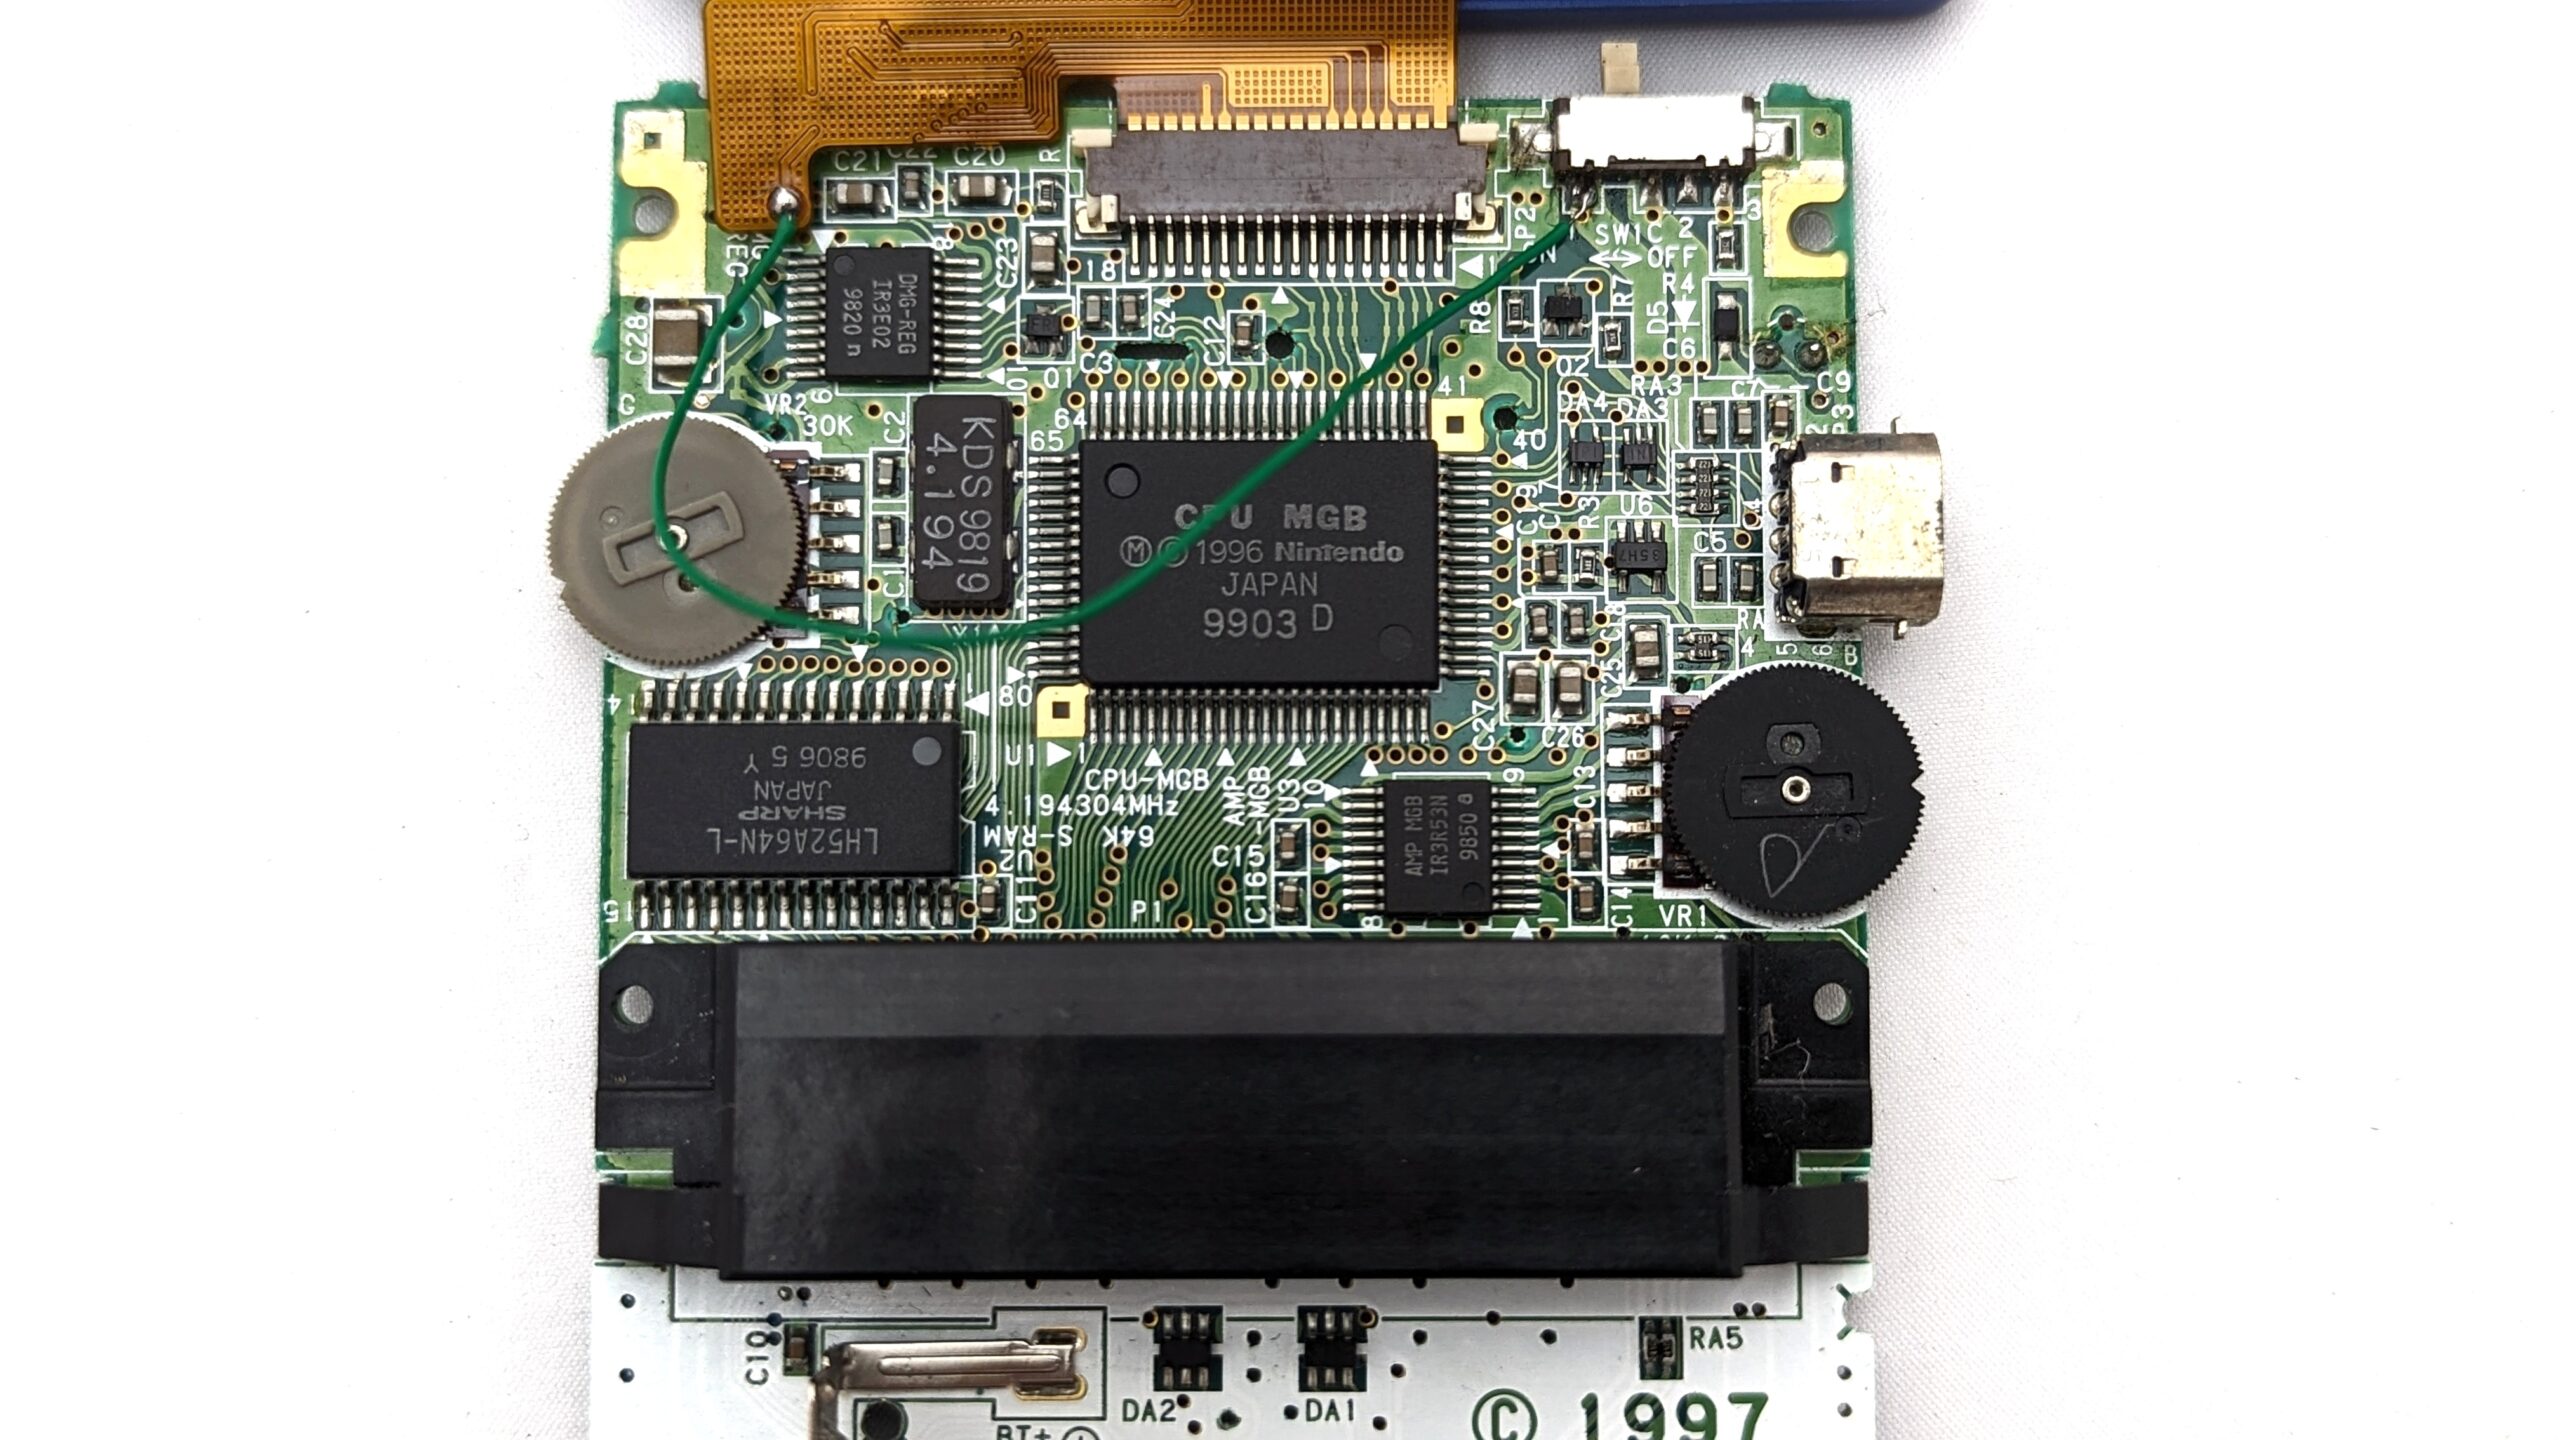
In order for the kit to draw power, the included wire must be soldered to the power switch. First strip and tin the wire. Tinning means applying a thin layer of solder to the wire, which holds the fine wires together and makes it easier to connect to the solder pad. Tin the solder pad as well. Then, carefully solder the wire in place. The result should look like the image below.
Step 8: Reassemble the MGB
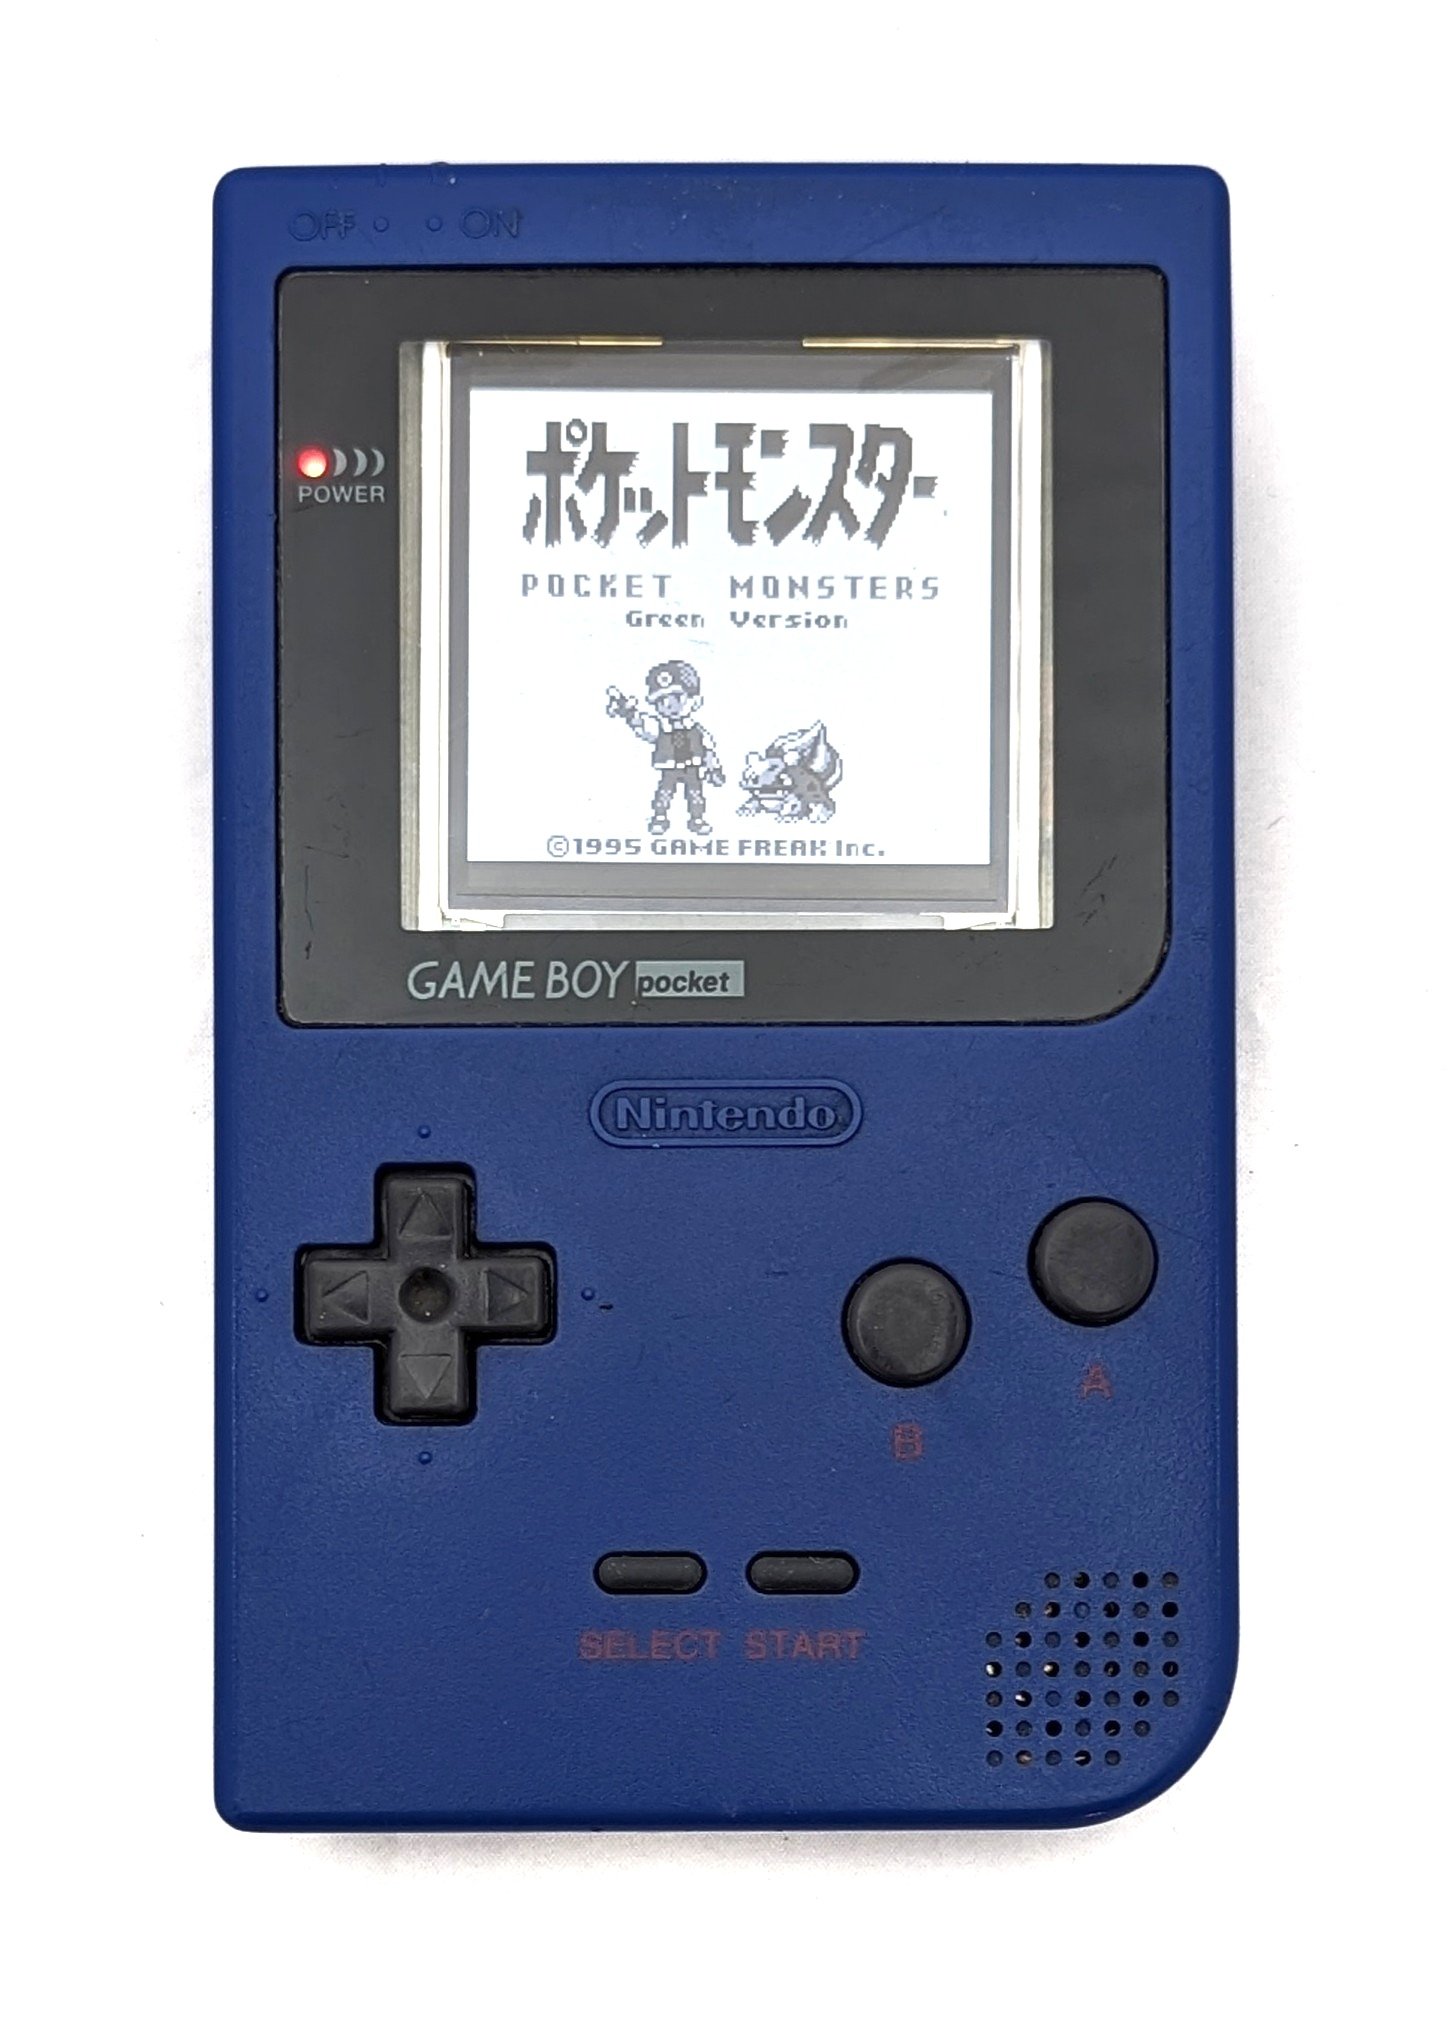
Now that the backlit LCD is installed, it’s time to put everything together. Put your buttons back into the shell and carefully fold the MGB PCB into place. Be mindful of the speaker, which sometimes needs to be turned a little to fit back into place. Make sure that the power switch is set within its casing.
 |
 |
Screw the PCB to the board using the Philips Head screwdriver and then close the shell using the Tri-Wing screwdriver.
Step 9: Enjoy Your Backlit Game Boy Pocket
Congratulations! You modded your Game Boy Pocket!
While we wouldn’t exactly recommend this mod in particular, it was a great project (and a lesson in the kind of backlit mod we don’t want). For one thing, the touch brightness controller is finicky at best. We didn’t want to alter this shell at all, and trying to use it through the shell is something of an exercise in frustration. For another, the screen is small. Without the promised bracket, ours also came out a touch crooked, but the most egregious aesthetic issue is the fact that there’s so much space on the side. This mod really needs better framing or a custom lens to narrow the viewport.
That said, the mod itself was quick and easy. With only a single instance of soldering, it’s very beginner friendly. Given that we started with a busted display and can now actually use the device, we’re pretty happy with the results.
In keeping with our propensity for naming all our modded handhelds, we’ve affectionately nicknamed this one Twitter Blue because it works but… not well.